Practical Kitchen Chemistry
Have you ever thought of your kitchen as a science lab? Perhaps that might be more natural for me, having spent 30 years as a high school science teacher. I thought it might be helpful in these strange times we all are experiencing to provide you with some activities that could be done as a family or perhaps to just pass some time and try something new.
No matter what I taught, I always tried to instill in my students the idea that science had multiple applications in their everyday lives. Pointing out practical applications always seemed to help students build a greater depth of understanding and as I got more involved in home projects just how many science principles are used to maintain your own home. The kitchen pantry is a place in your home where you can find safe chemicals with many different applications. I am sure you have used vinegar to remove hardware scale from your faucets and never thought about it as chemistry, but it is a chemical reaction. This post is a simple project that you may want to do with your kids or grandkids or just because you want some spectacular colored eggs and can’t go out to the store.
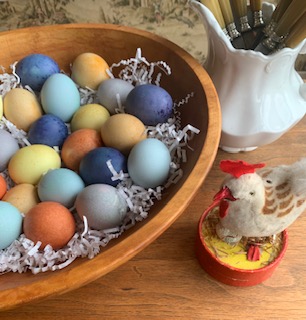
Many plant food sources contain colored pigments other than the green chlorophyll you recall from your time in science class. Colored pigments have been used throughout history to produce dyes to color cloth and yarn so it would seem only natural to use them to dye Easter Eggs.
For this project/activity you could invite your kids into the kitchen and start by asking them if they think it might be possible to dye the eggs for Easter with simple things either from the refrigerator or spice cabinet. I would definitely listen to their ideas and as a science teacher would encourage you to try at least one of their suggested materials . So if they pick pepper or broccoli, go for it and see what happens!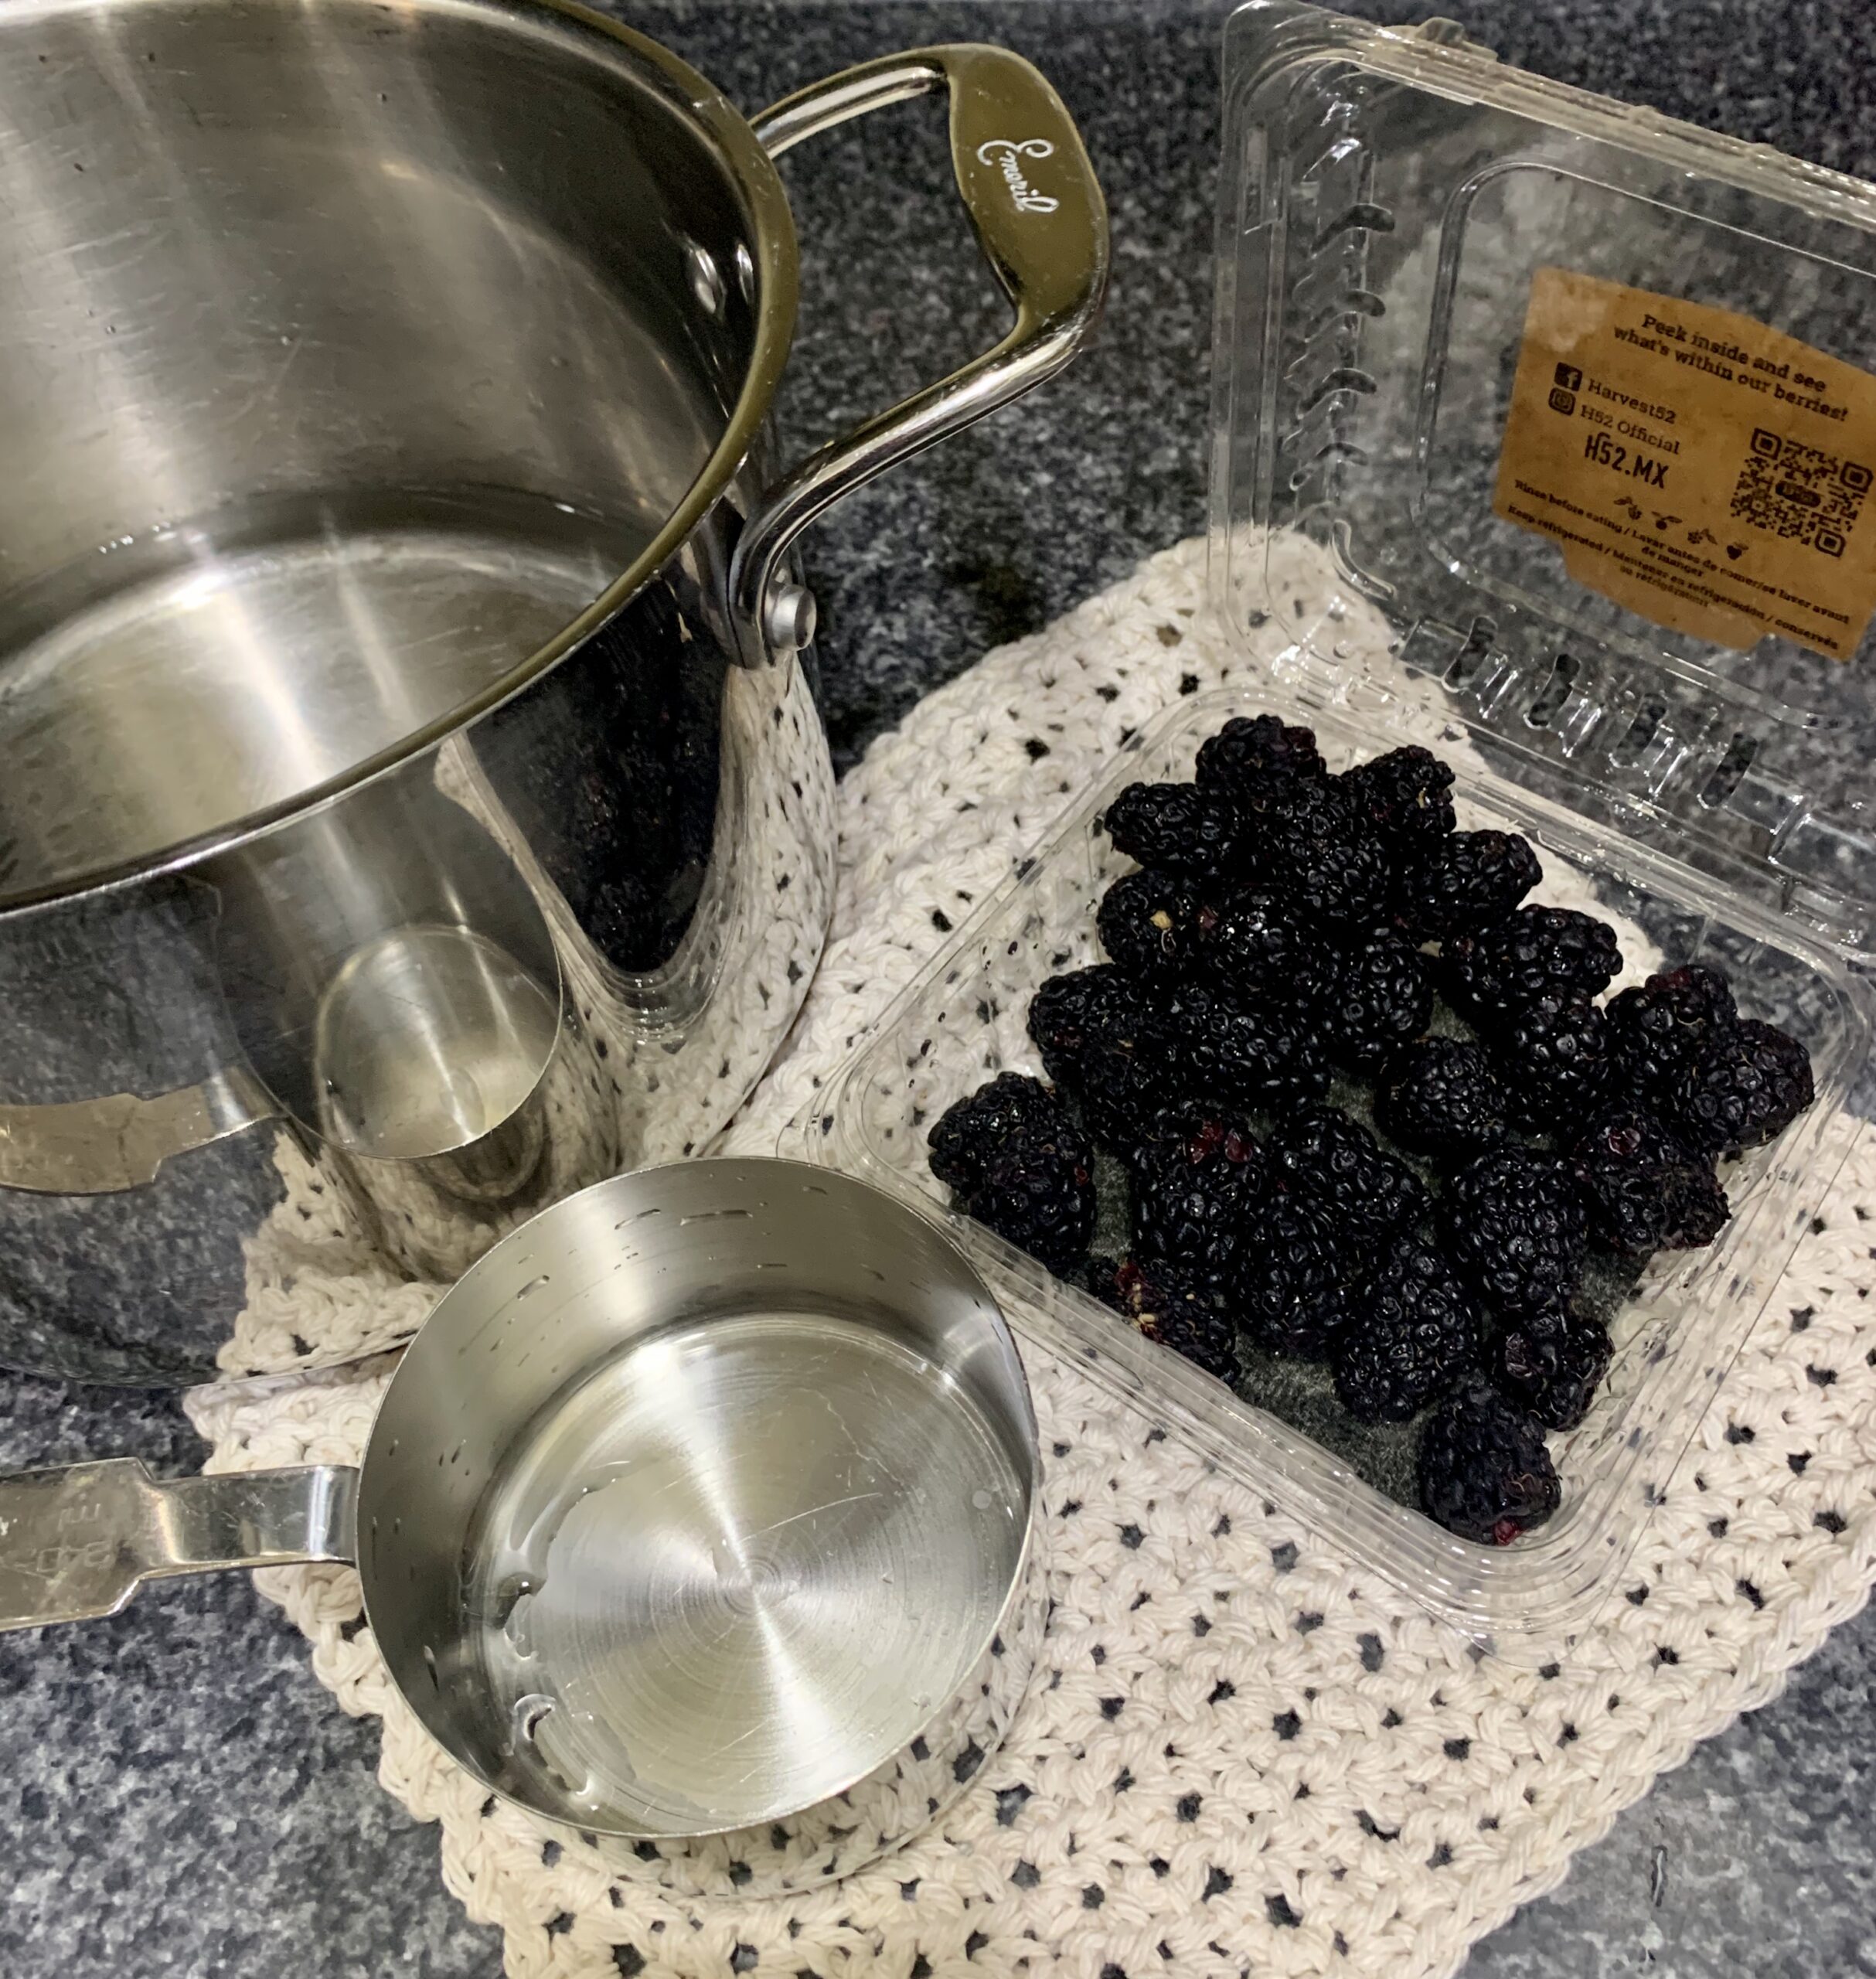
In order to dye the eggs, you will need hard boiled eggs. There are many suggestions for getting the perfect boiled egg so use the method you are comfortable or you can try mine.
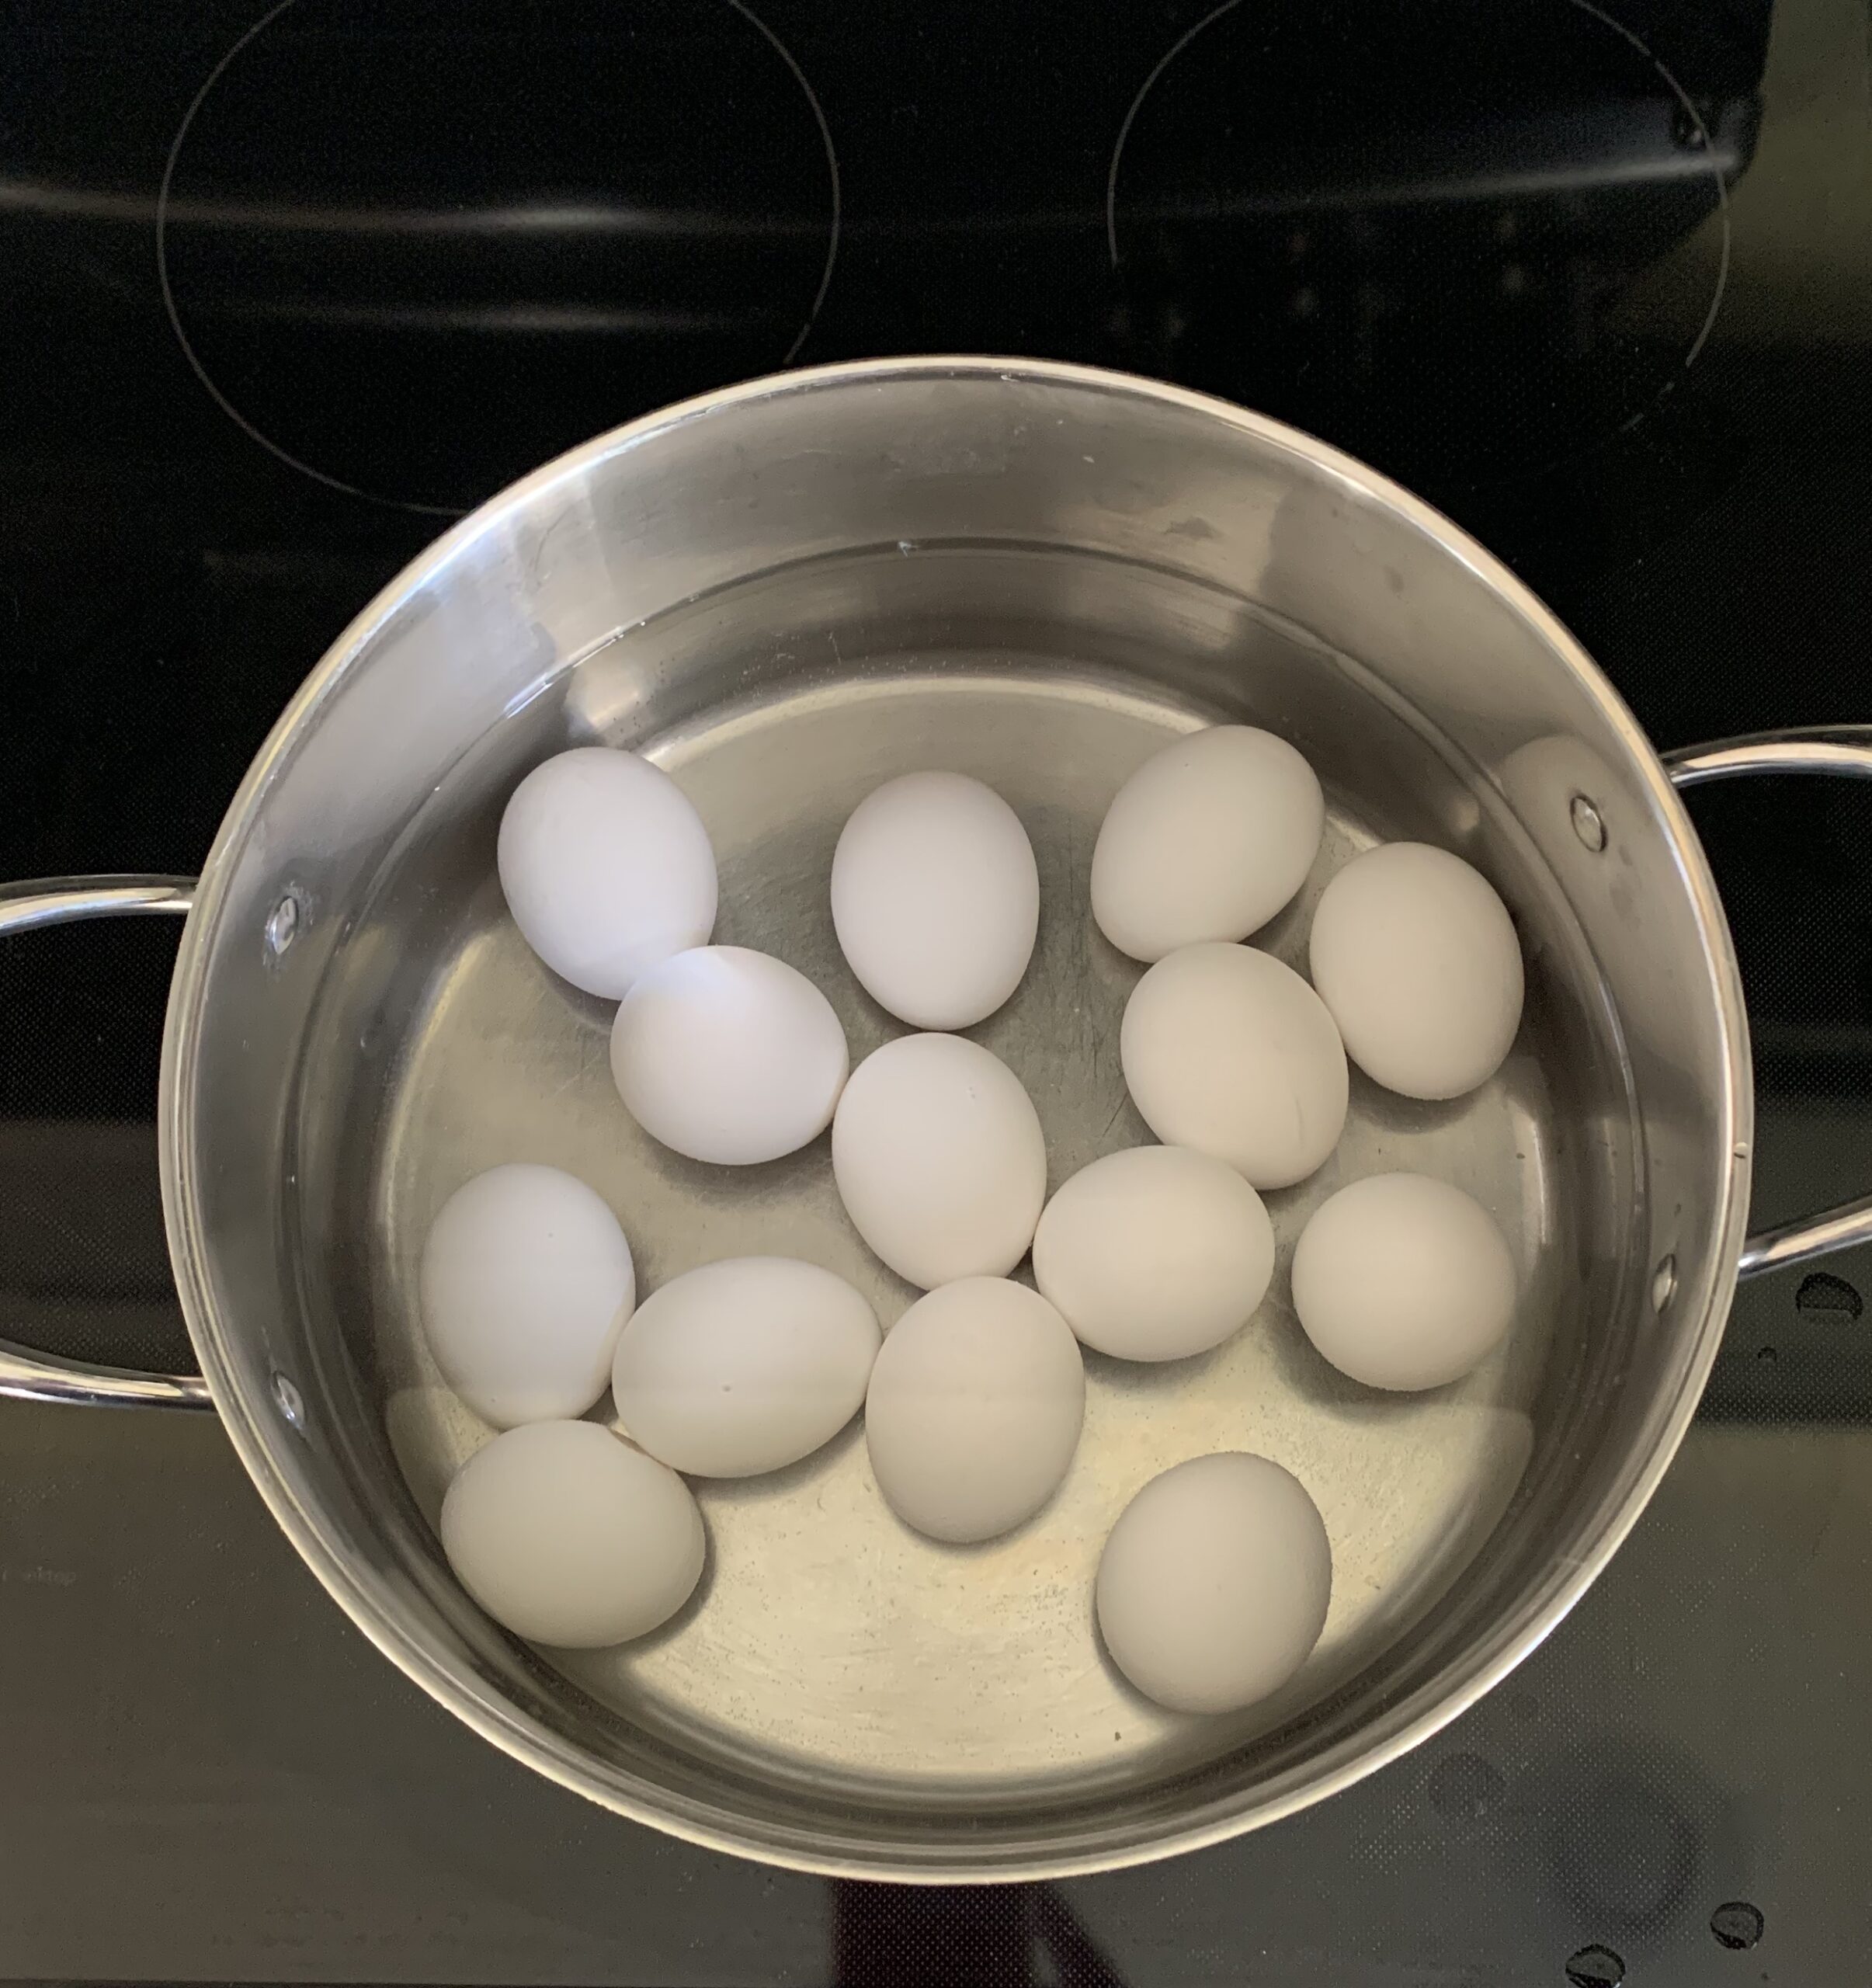
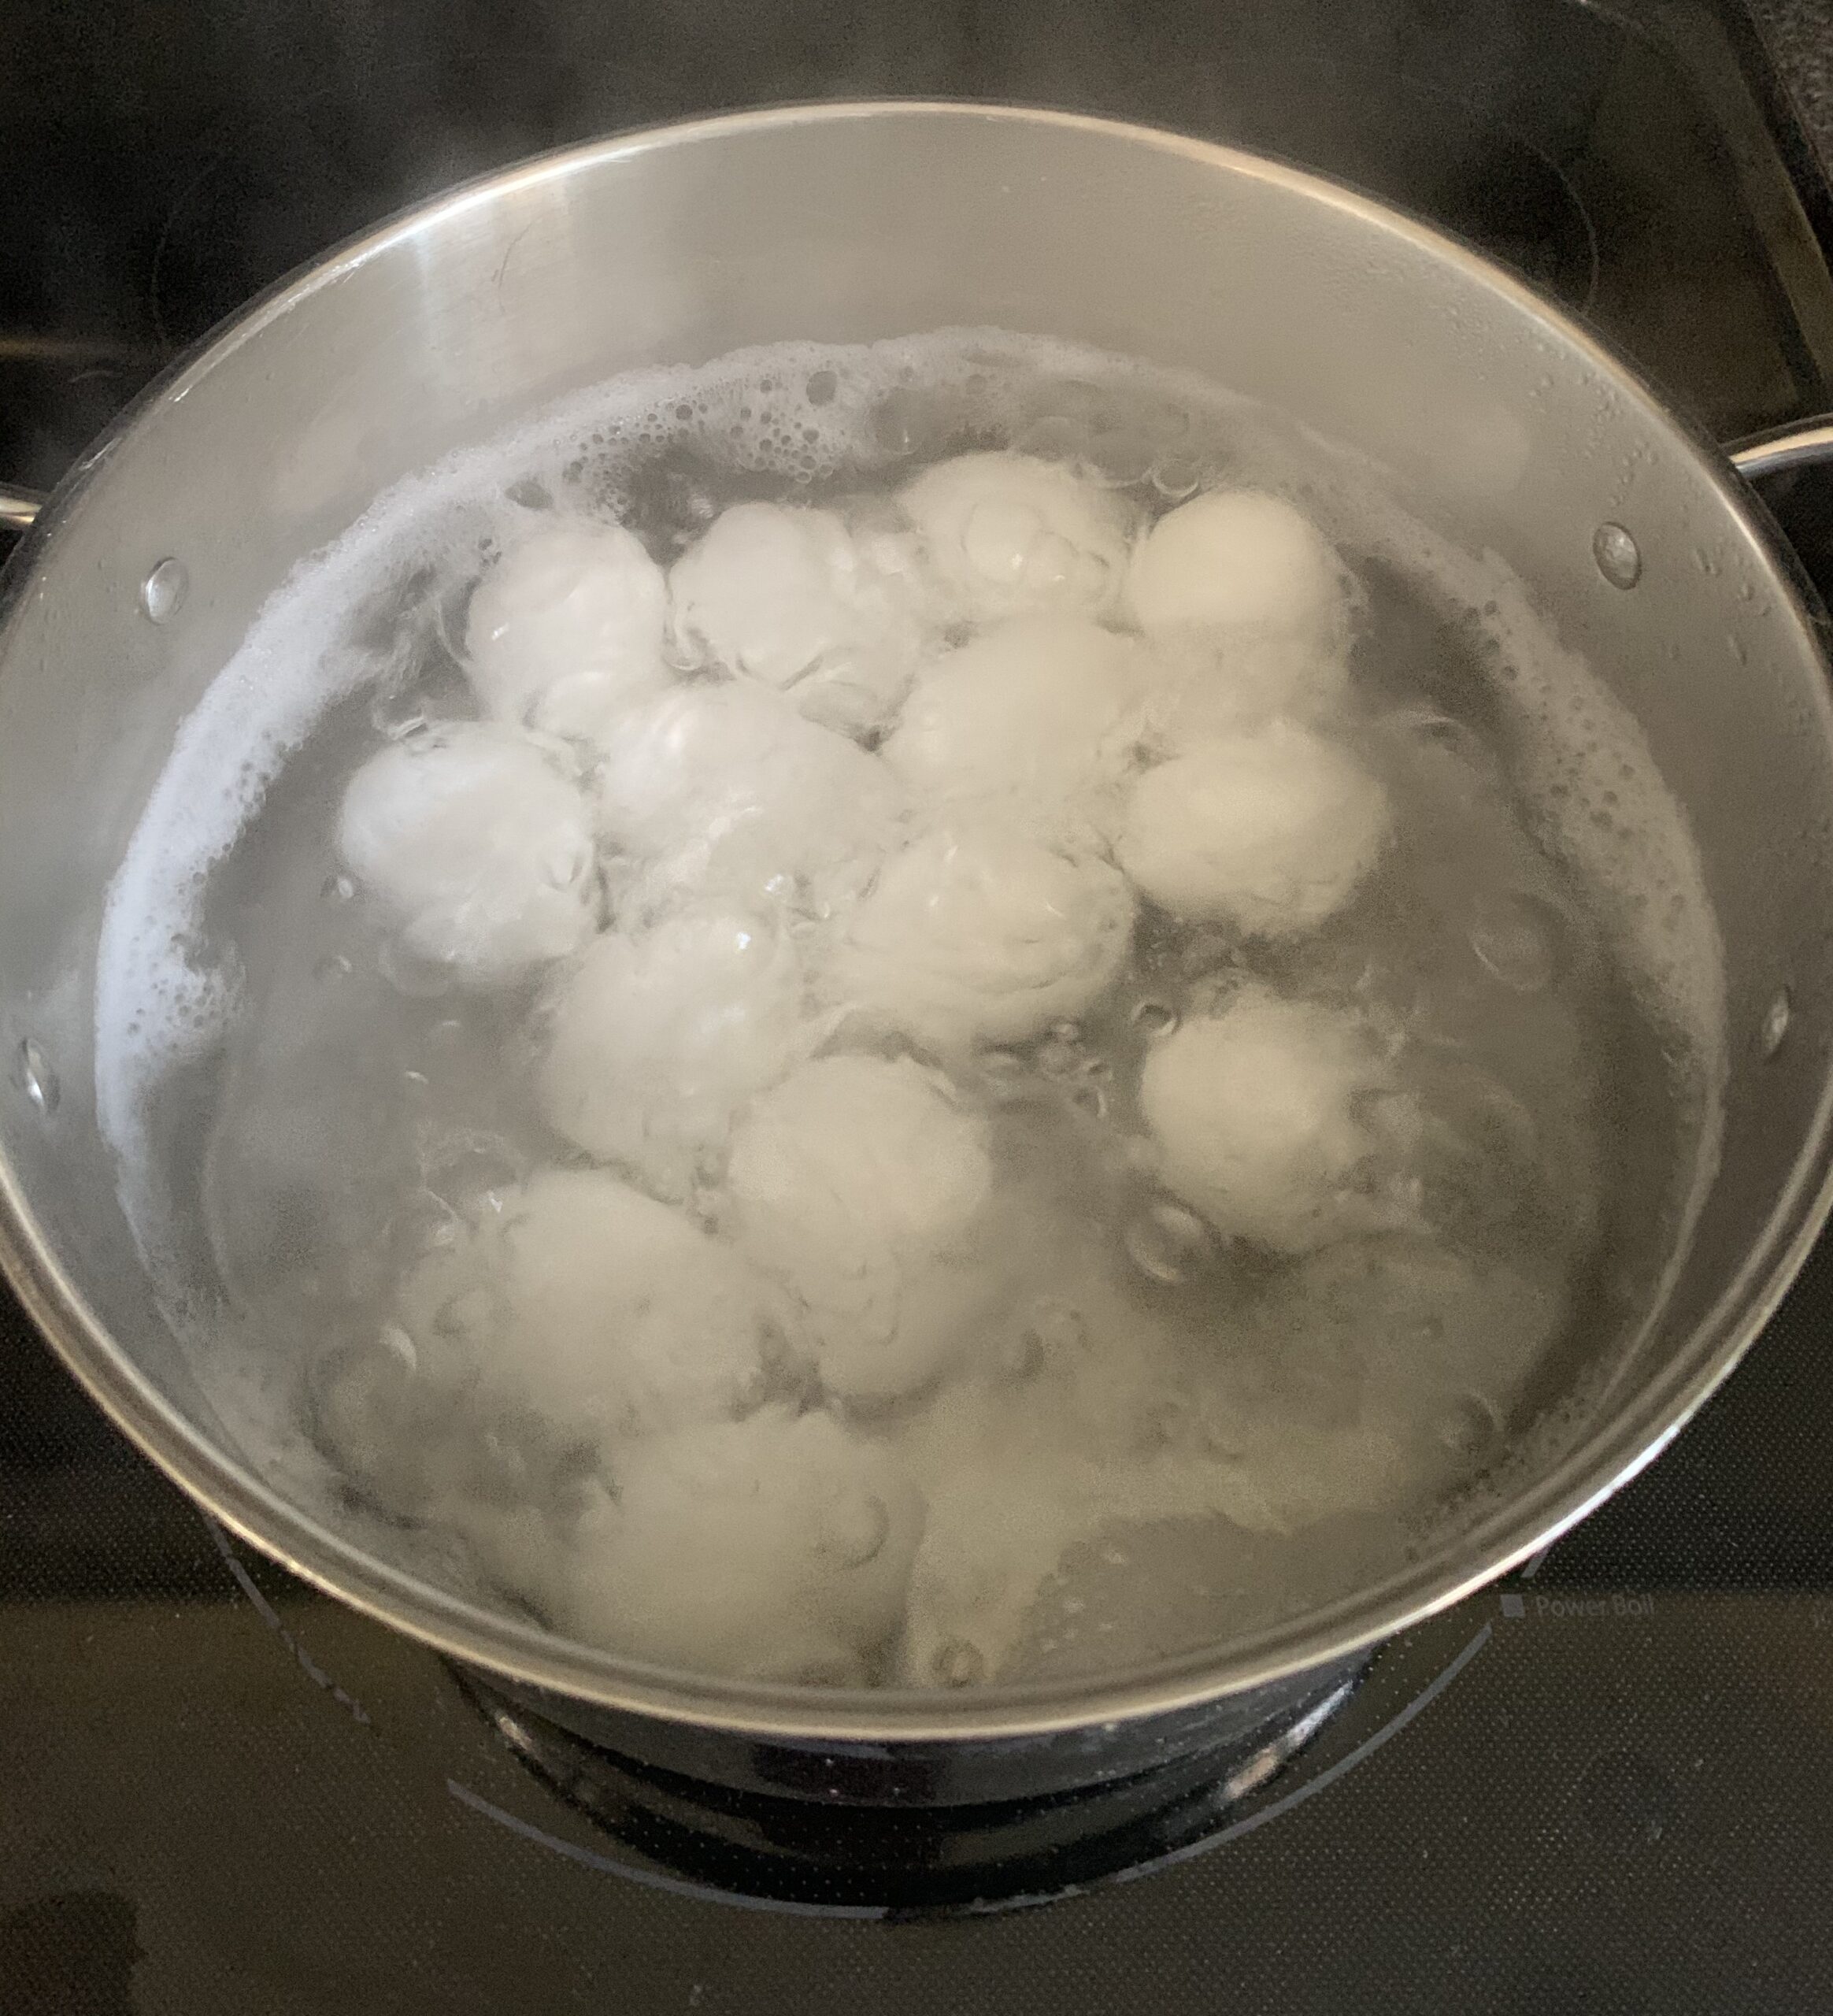
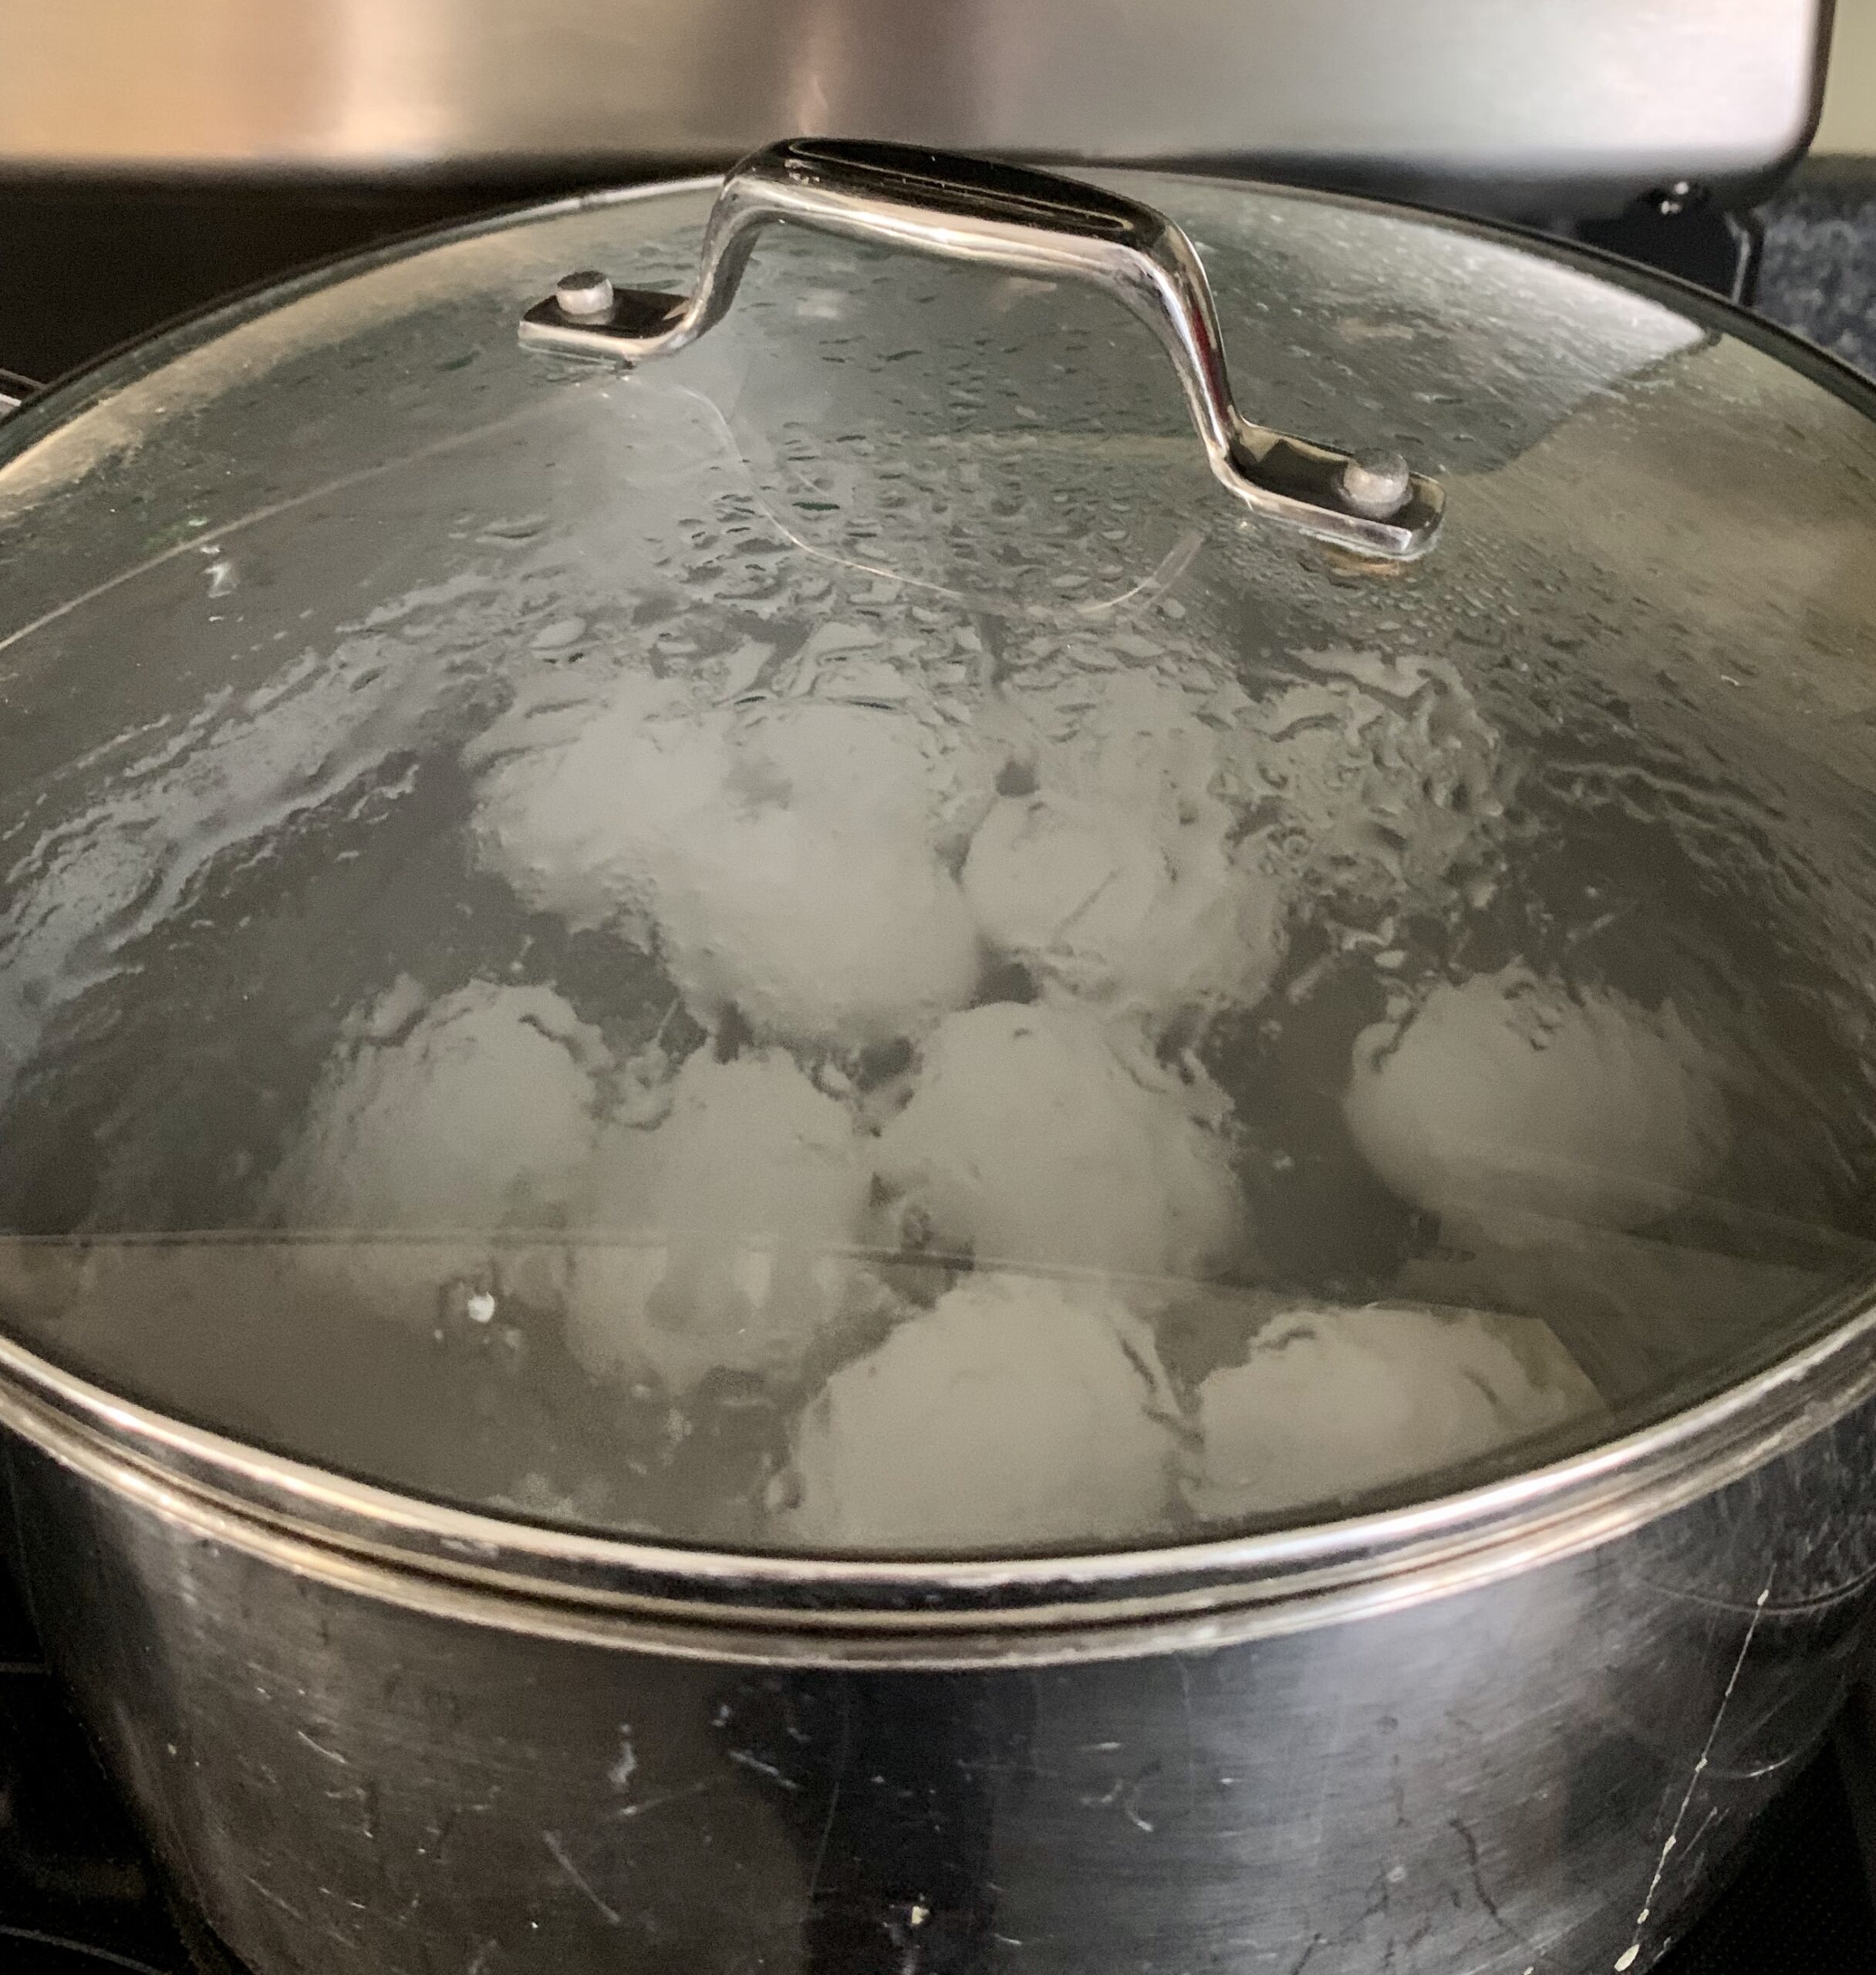
Place a single layer of eggs into a large kettle. Carefully add cold water to generously cover the eggs. Place the kettle on a medium heat burner and let the water come to a gentle rolling boil. vigorous boiling tends to cause the eggs to crack. Once the water is boiling, remove the kettle from the heat and cover with a lid. Allow the kettle to sit covered and untouched for 20 minutes. I always set the timer, as I can easily get lost in another project in 20 minutes. when the timer sounds, carefully dump the hot water out and add ice cold water. allow the boiled eggs to sit in the cold water until cool. The cold water soak supposedly makes the eggs easier to peel. Gently dry the eggs and refrigerate until you are ready to start creating your beautiful dyed eggs.
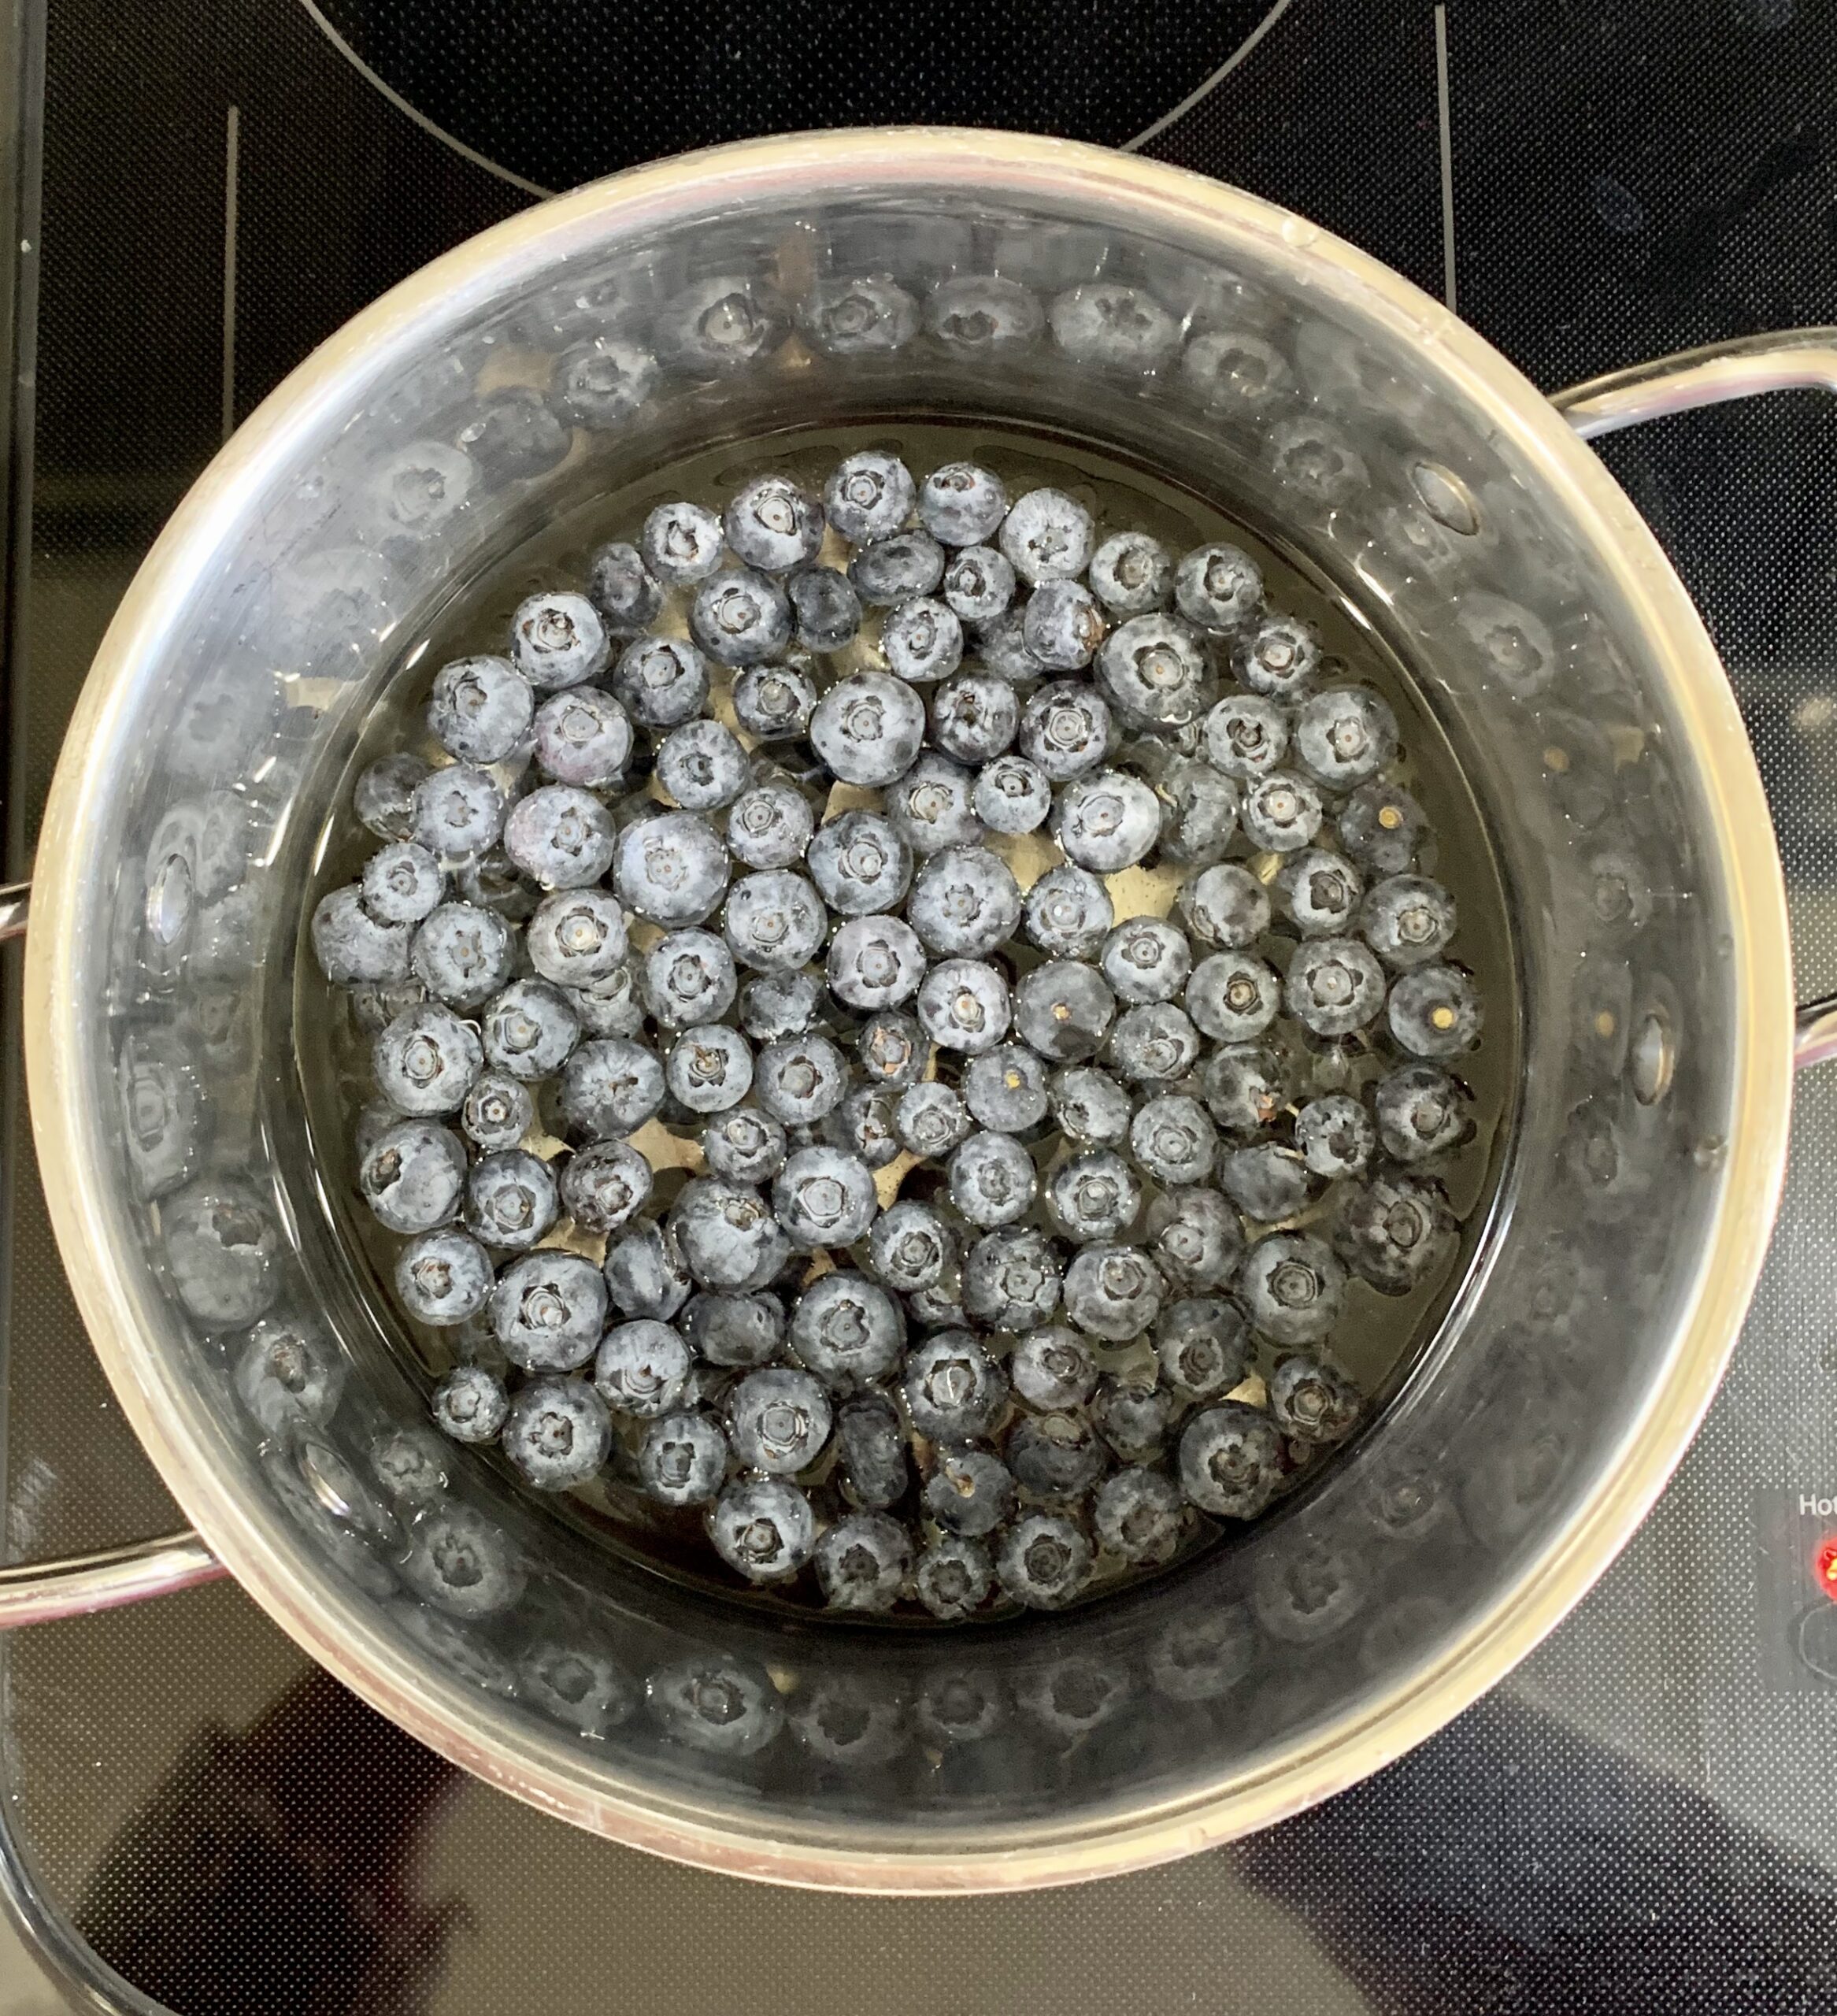
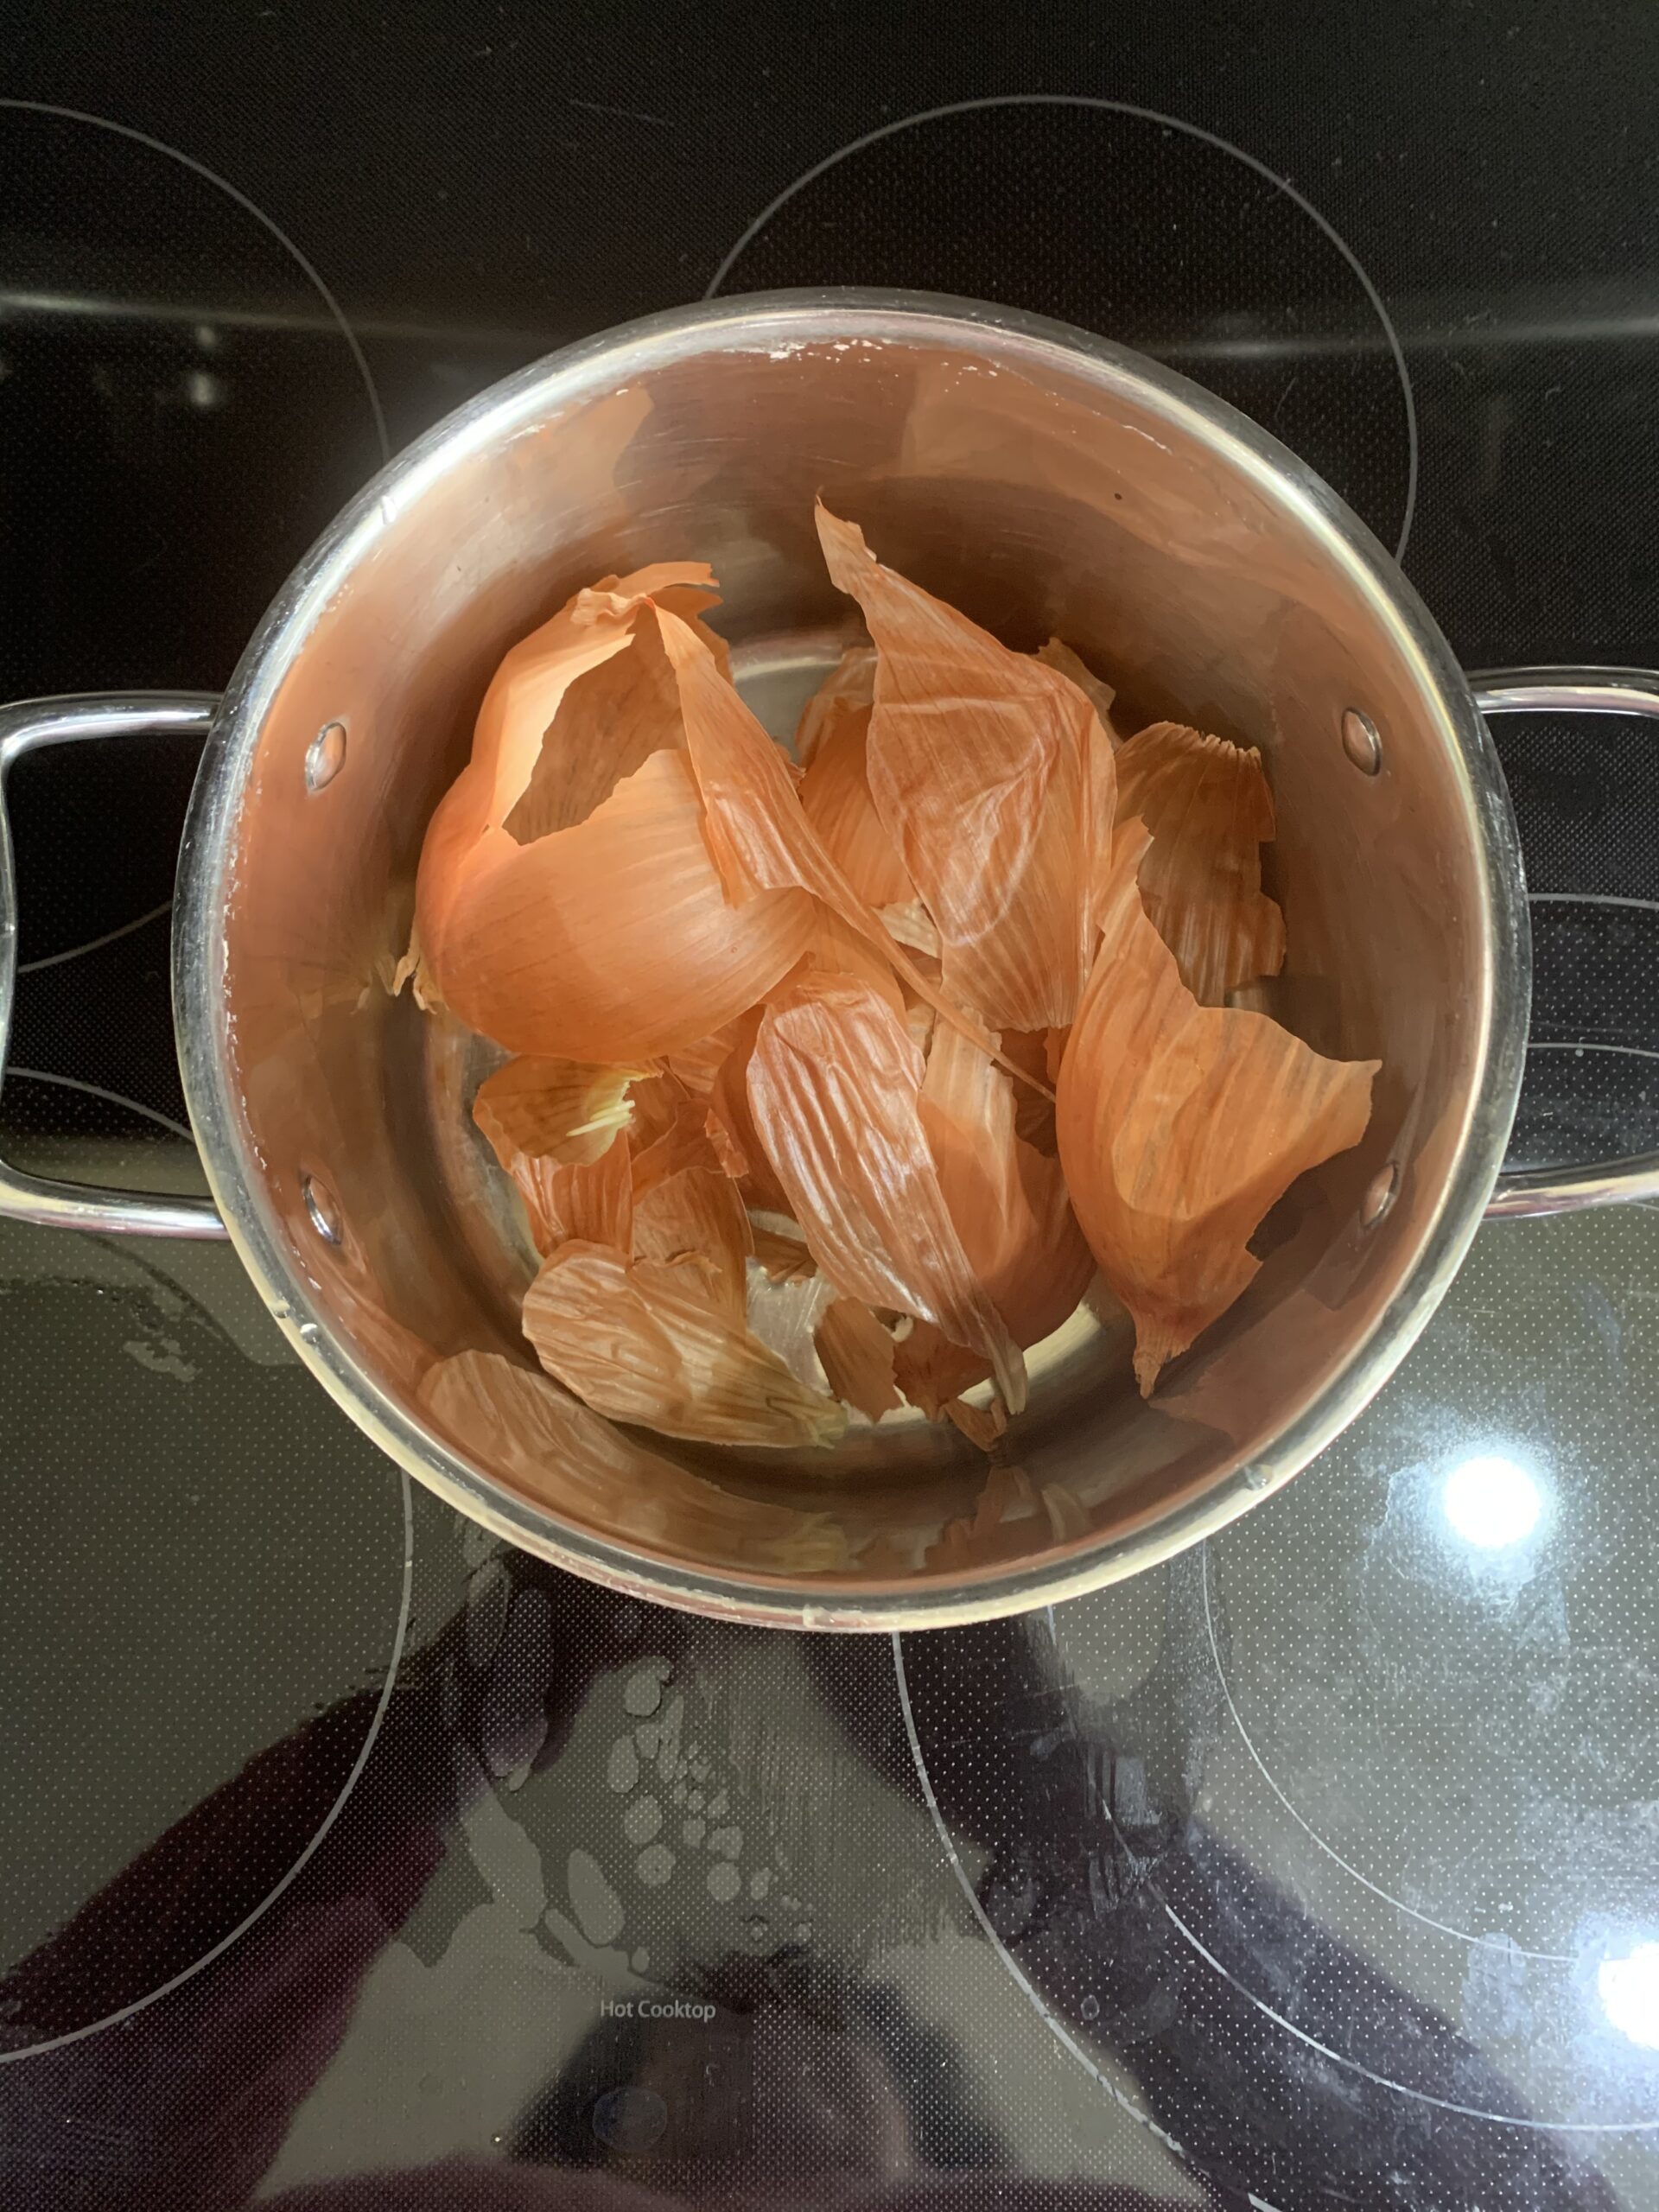
Now the fun begins! Natural dyes produce eggs that are deeply colored and often times mottled in appearance just like bird eggs. I literally used what I had in the house to make my dyes, fruits, vegetables and spices. For each vegetable or fruit based dye you will need at least 1 cup of material. I used blueberries, blackberries, yellow onion skins and red cabbage. The red cabbage required some course chopping but I just washed all of the other materials and put them into separate pots with 2 cups of water. I allowed the mixtures to come to a boil and then I reduced the heat and allowed the pots to simmer about 5-7 minutes.

Allow the pots to cool and then filter off the excess material by pouring through a strainer, collecting the liquid into the containers used to dye the eggs.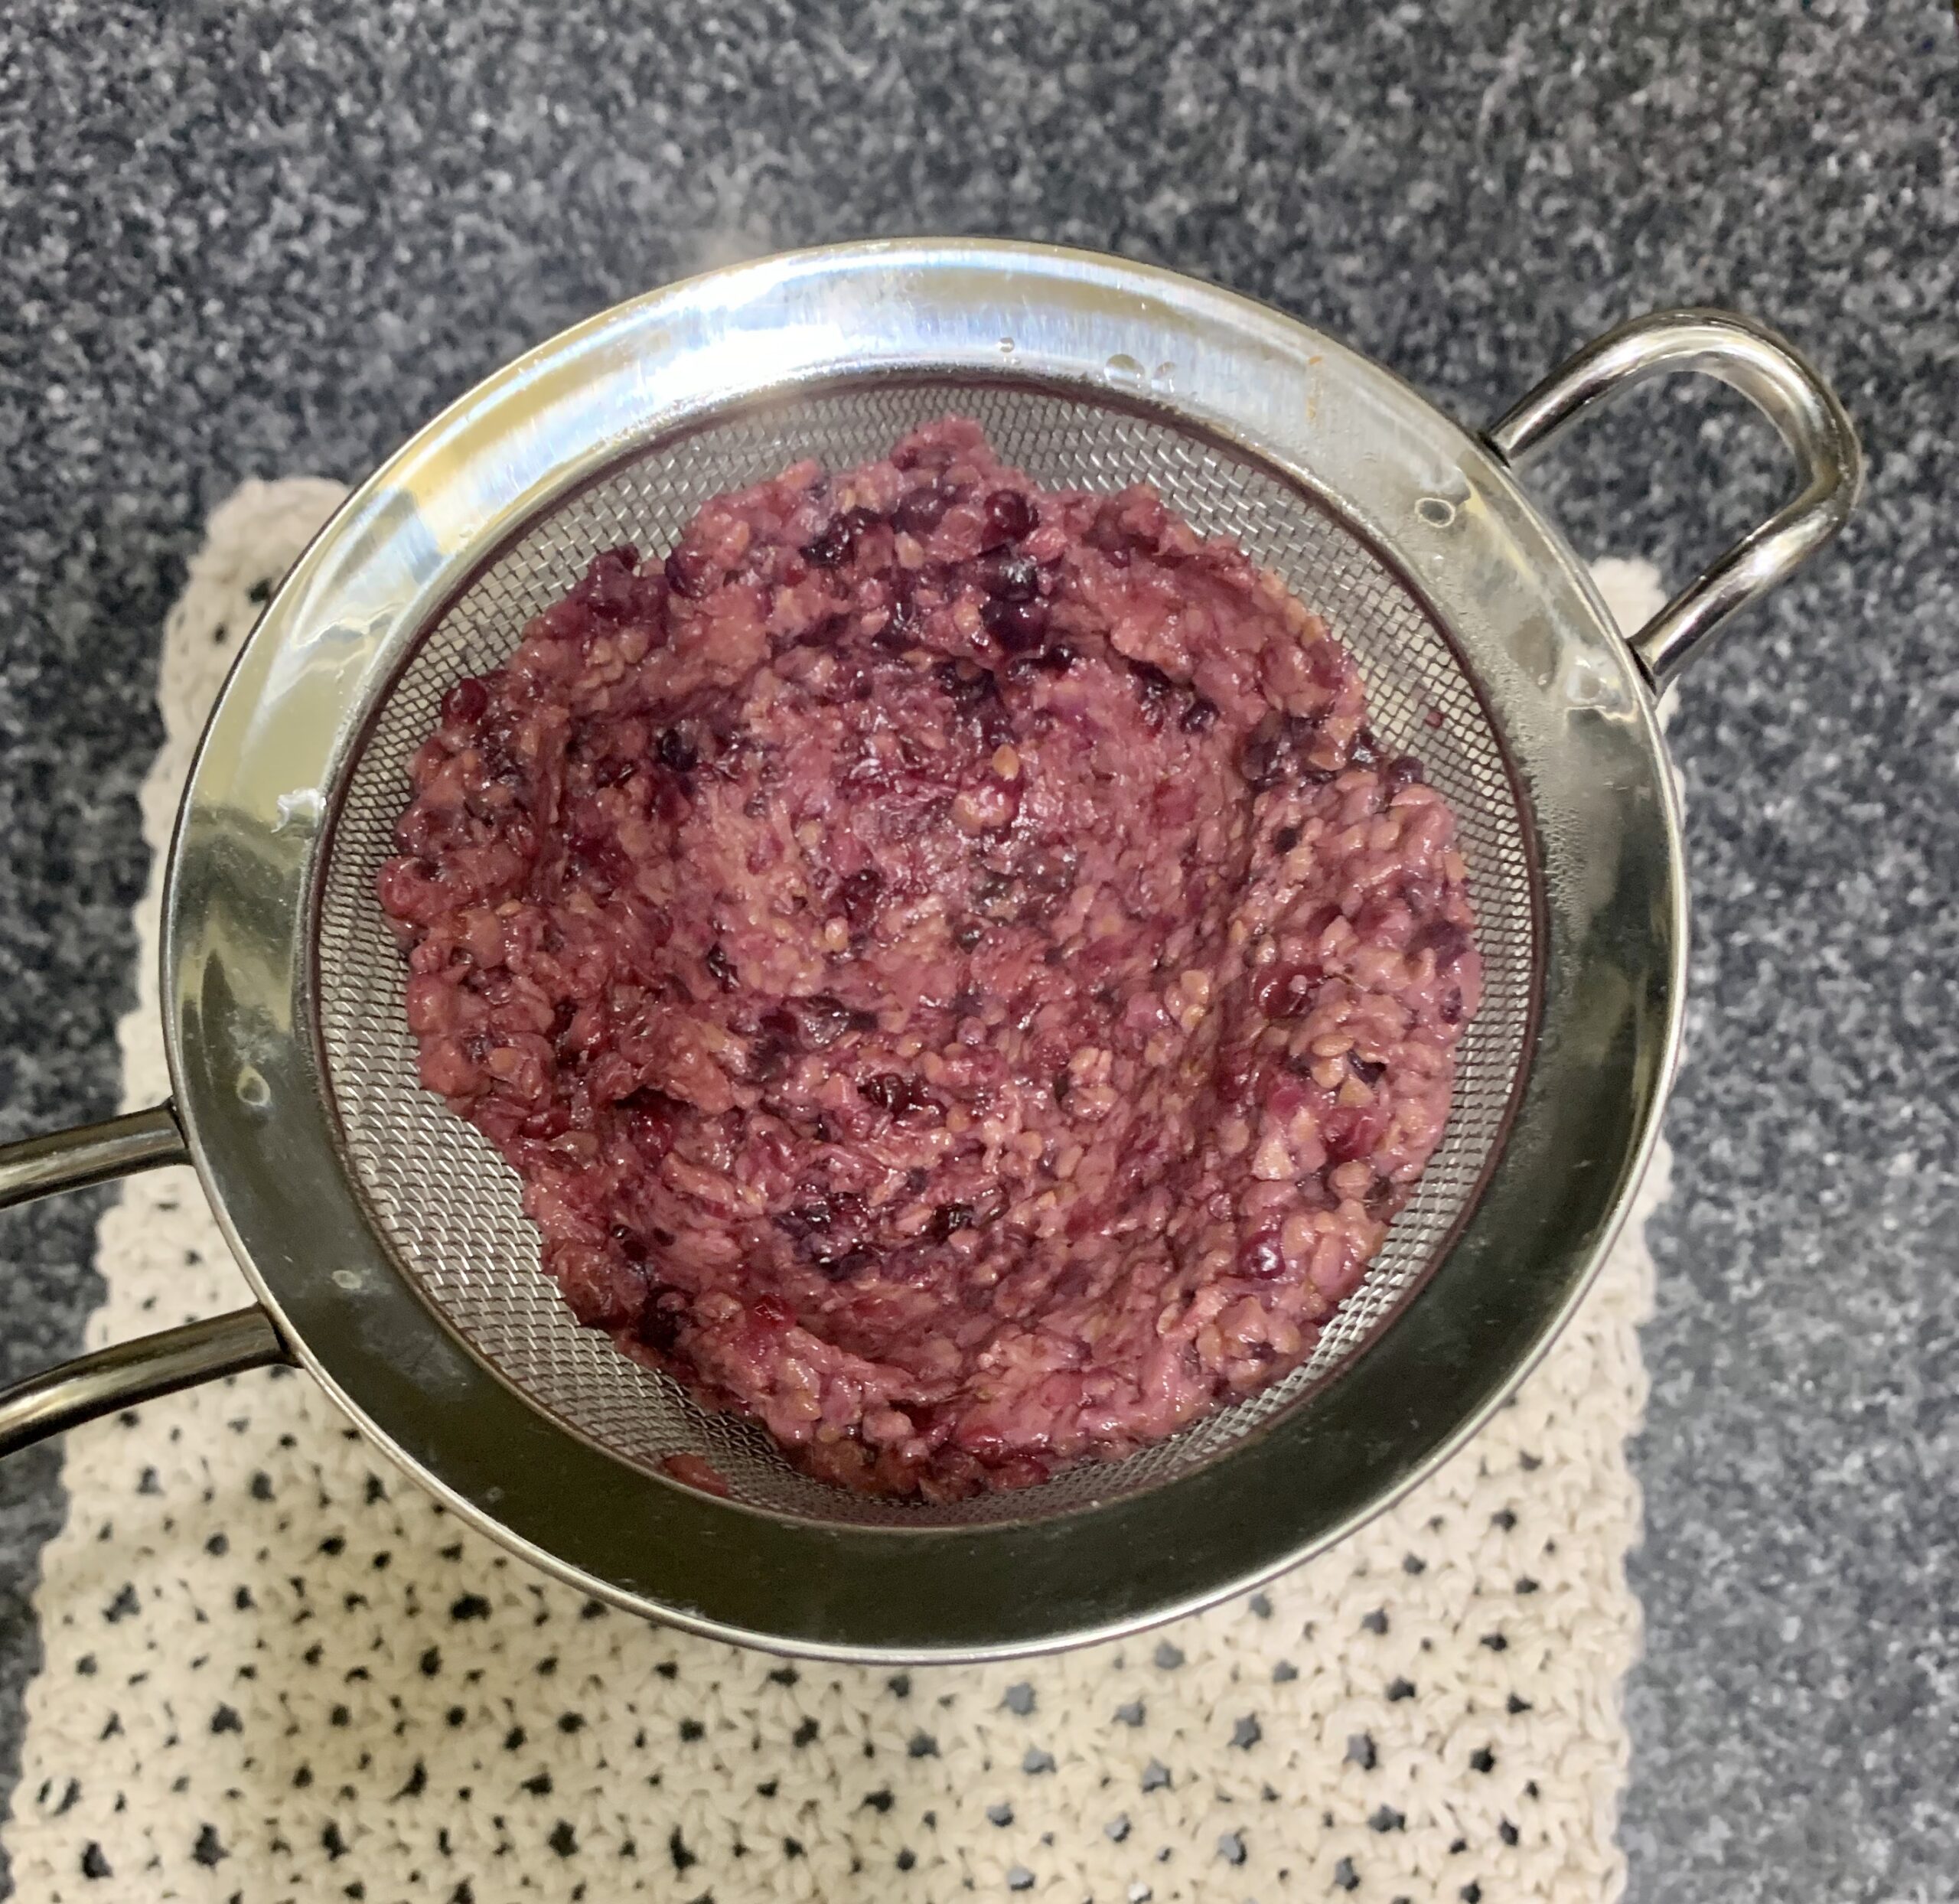
To each container add one Tablespoon of white vinegar. The vinegar is an important ingredient to have deeply colored eggs. The natural dyes become negatively charged ions as they dissolve in the water. the vinegar reacts with the proteins in the egg shell and adds hydrogen ions to the proteins making them positively charged. the dye is then attracted to the egg shells. The vinegar also starts to break down the calcium carbonate in the egg shell, that is why little bubbles arise from the egg after it is placed in the dye solution. that bubbling action increases the surface area of the egg so that more dye can attach to the egg..
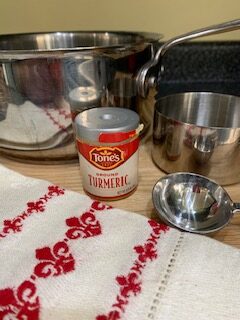
I also used two spices, turmeric and chili powder to produce dyes. I placed 2 Tablespoons of Turmeric into a pot with 2 cups of cold water and brought the mixture to a boil and then simmered for 10 minutes. I repeated this with the chili powder. when the solutions cooled, I stirred them and poured the solutions into the containers to dye the eggs. I added 1 Tablespoon of vinegar to the turmeric dye as well as the chili powder dye.
Place a hardboiled egg into each dye container. the longer the eggs are left in the dye the deeper the color. Remove the eggs from the dye bath with a large spoon and place the eggs to dry on a wire rack with a towel under it to catch the drips.
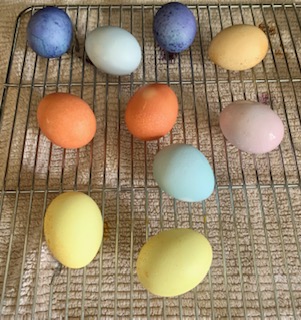

I loved the way the eggs turned out, however I think I might have achieved a deeper color from the red cabbage if I had used more than a cup of cabbage. Some other materials you might want to try are beets, spinach and red onions.

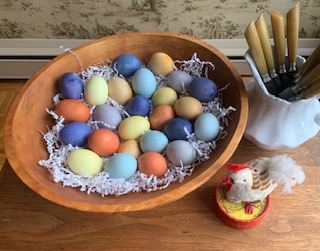
The deep purple eggs were the result of the blueberry soak, the yellow color came from the turmeric, the orange was created from onion skins, the pale Robbins egg blue was red cabbage, blackberries made the lovely lavender eggs and the chili powder made the yellow orange eggs that were a bit speckled. If I would have been able to go to the store I would have added beets or cranberries to my list to have tried to get some pink colored eggs.
I hope this project inspires you to try something you have never done before. It is fun to experiment and it doesn’t have to be done in a traditional lab!


Thank you, Mary, for this information! I will definitely give some of these a try with my children!
Your very bright and insightful daughters will love this activity!
Lovely colors! Great post.
Mary a wonderful explanation of how and why the process works. Many of us add the vinegar but don’t understand the science behind it. Thanks.
Gloria there is so much Chemistry that goes on in the kitchen. Did you ever think you were a scientist when you were preparing all those meals for your family?
Mary, these eggs are gorgeous! I’m hoping to make some when we get back to MN! Love the science explanation …. I learned something!
thanks for appreciating the science part, my two kids would always roll their eyes and say, “we know everything is science.”