
One of the things that has always fascinated me is the history of creating beautiful things from cloth and thread. My mom had a round basket that held her tangled, embroidery threads which she kept in her bedroom in the first house my family lived in. We moved from that house shortly after I started first grade, so I was very young when my interest in cloth and thread began. My mom embroidered dish towels, baby gowns and maybe dresser scarves and I wanted to do the same. So at age 4 or 5, I persuaded her to draw me a picture on a rag torn from an old white sheet to embroider. The picture she drew was of a rabbit and some eggs, delighted I stitched away with her colorful threads creating what I thought was the most perfectly stitched and beautiful design. In 4th grade I read the set of encyclopedias I received for Christmas and discovered great information about historic tapestries, sewing tools and needle art along with a wealth of trivial knowledge about all sorts of topics. Skipping ahead to raising my family, I managed to convince my husband and children that a vacation to Colonial Williamsburg was exactly where we needed to go for Spring Break, so that I could secretly schedule time for a historic textile workshop and visit shops that sold reproduction supplies to create things that were used in Colonial times. Who comes home with a historic sampler pattern, linen and silk threads for a souvenir?
This beautiful post my friend and mentor Marian wrote for her blog at Miss Mustard Seed convinced me that all of my readers might be interested in my love for historic needlework history and art. Because my love and passion of needle arts has grown from the act of creating I am sharing with you the tutorial for an original needle book that is created in a similar fashion as the one I made for Marian.
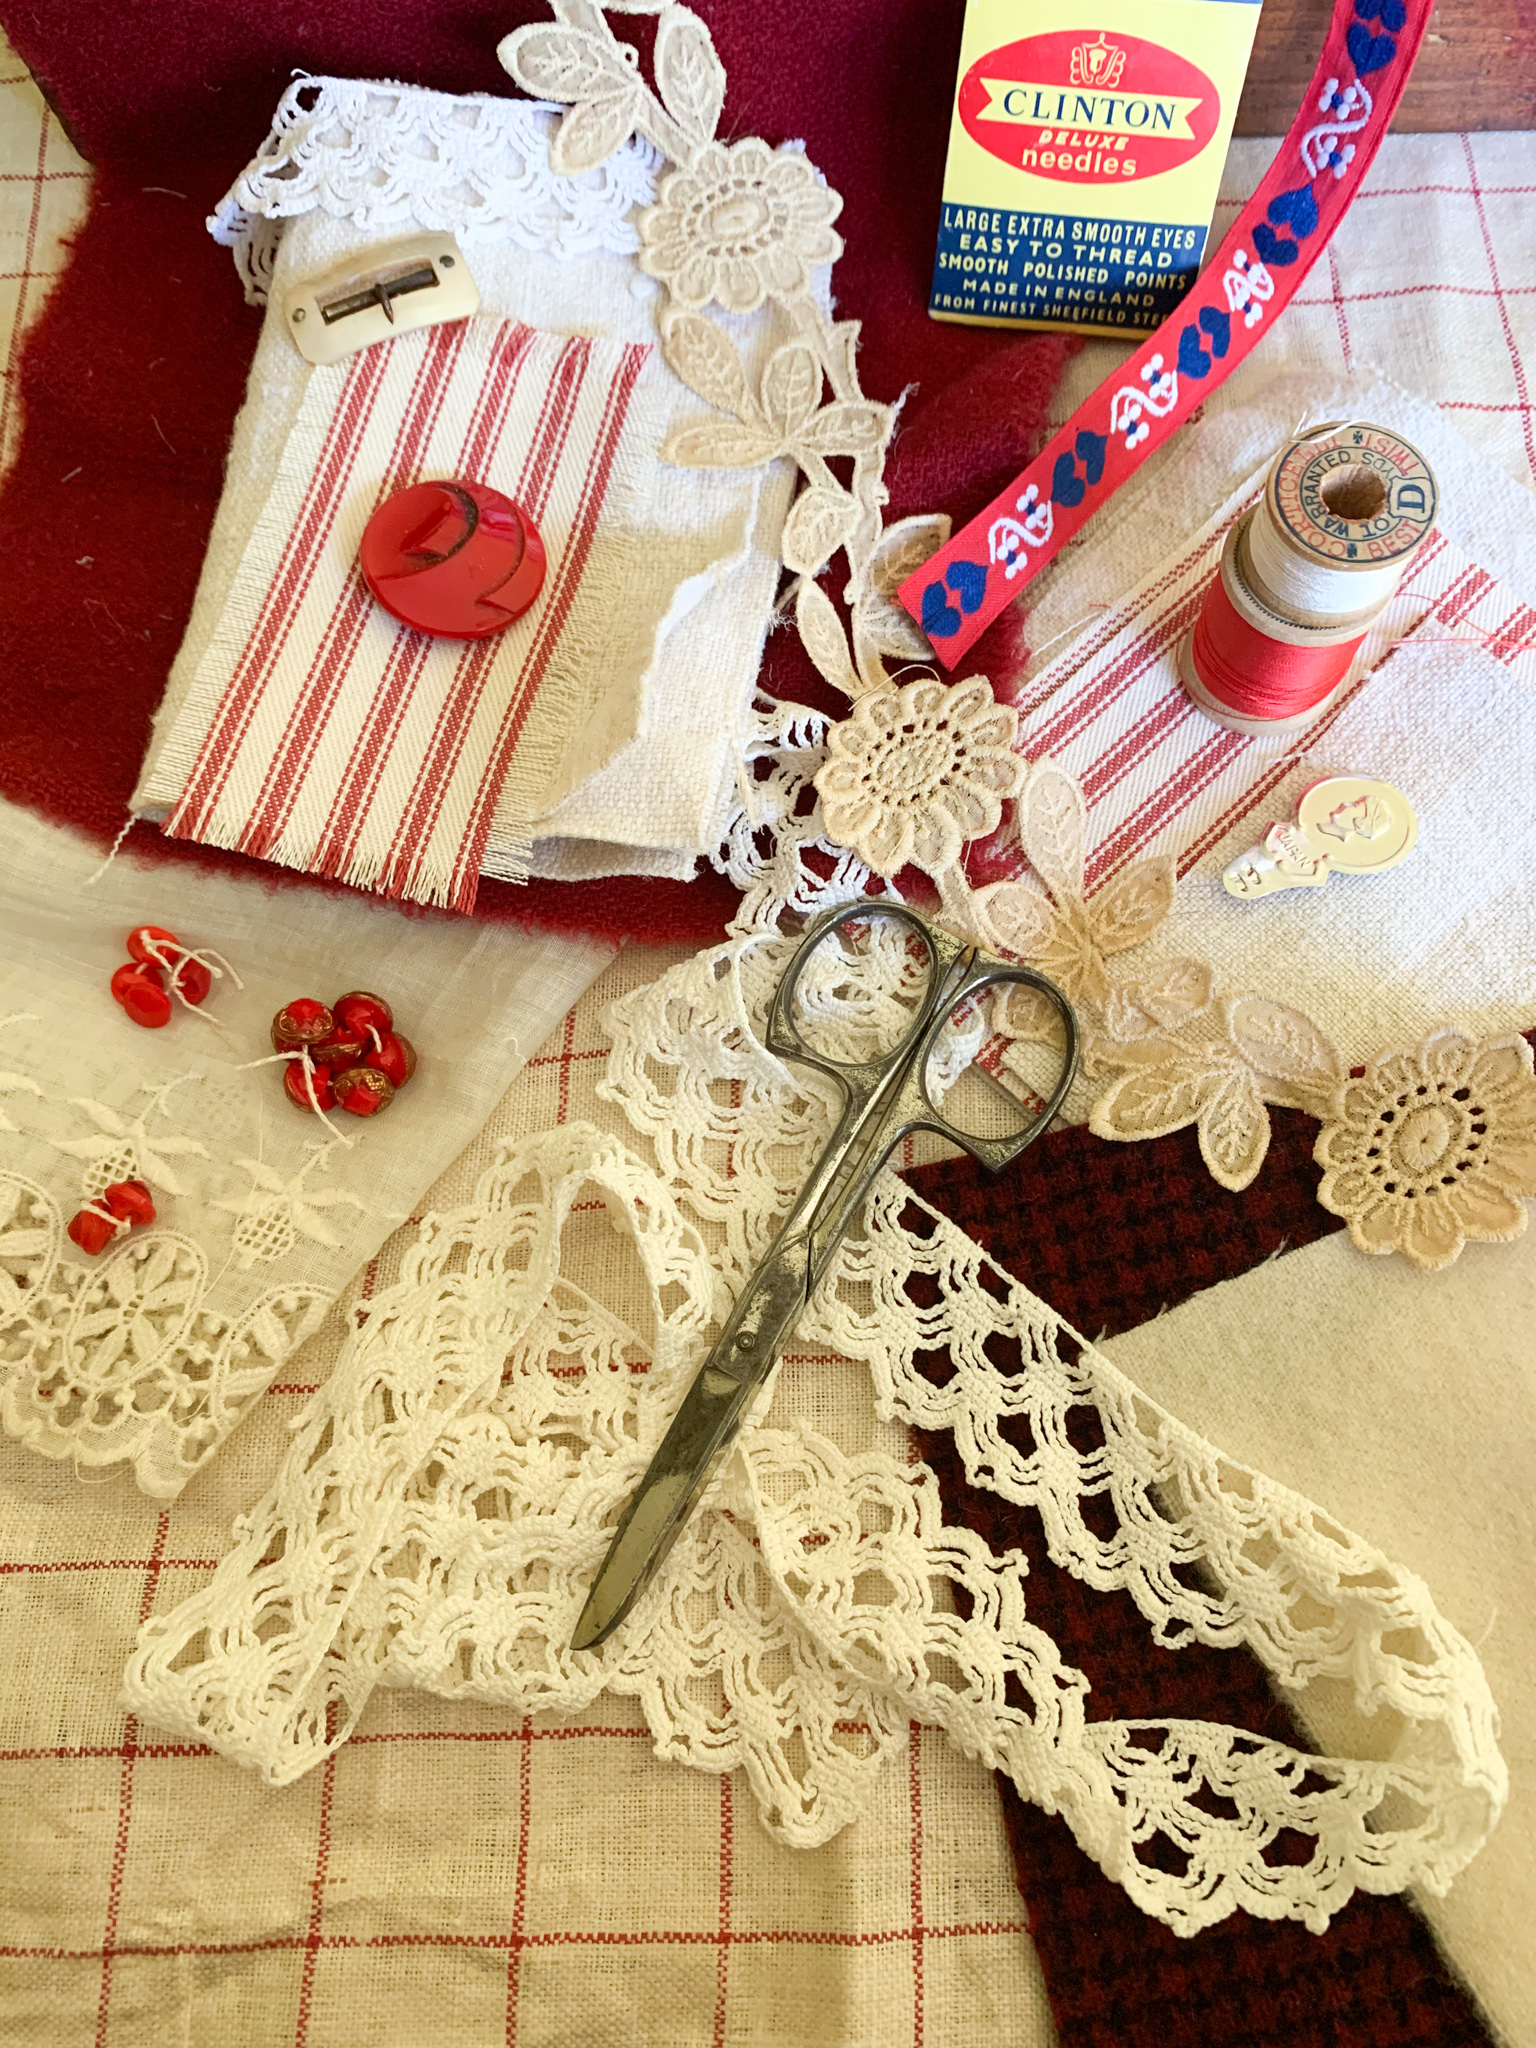
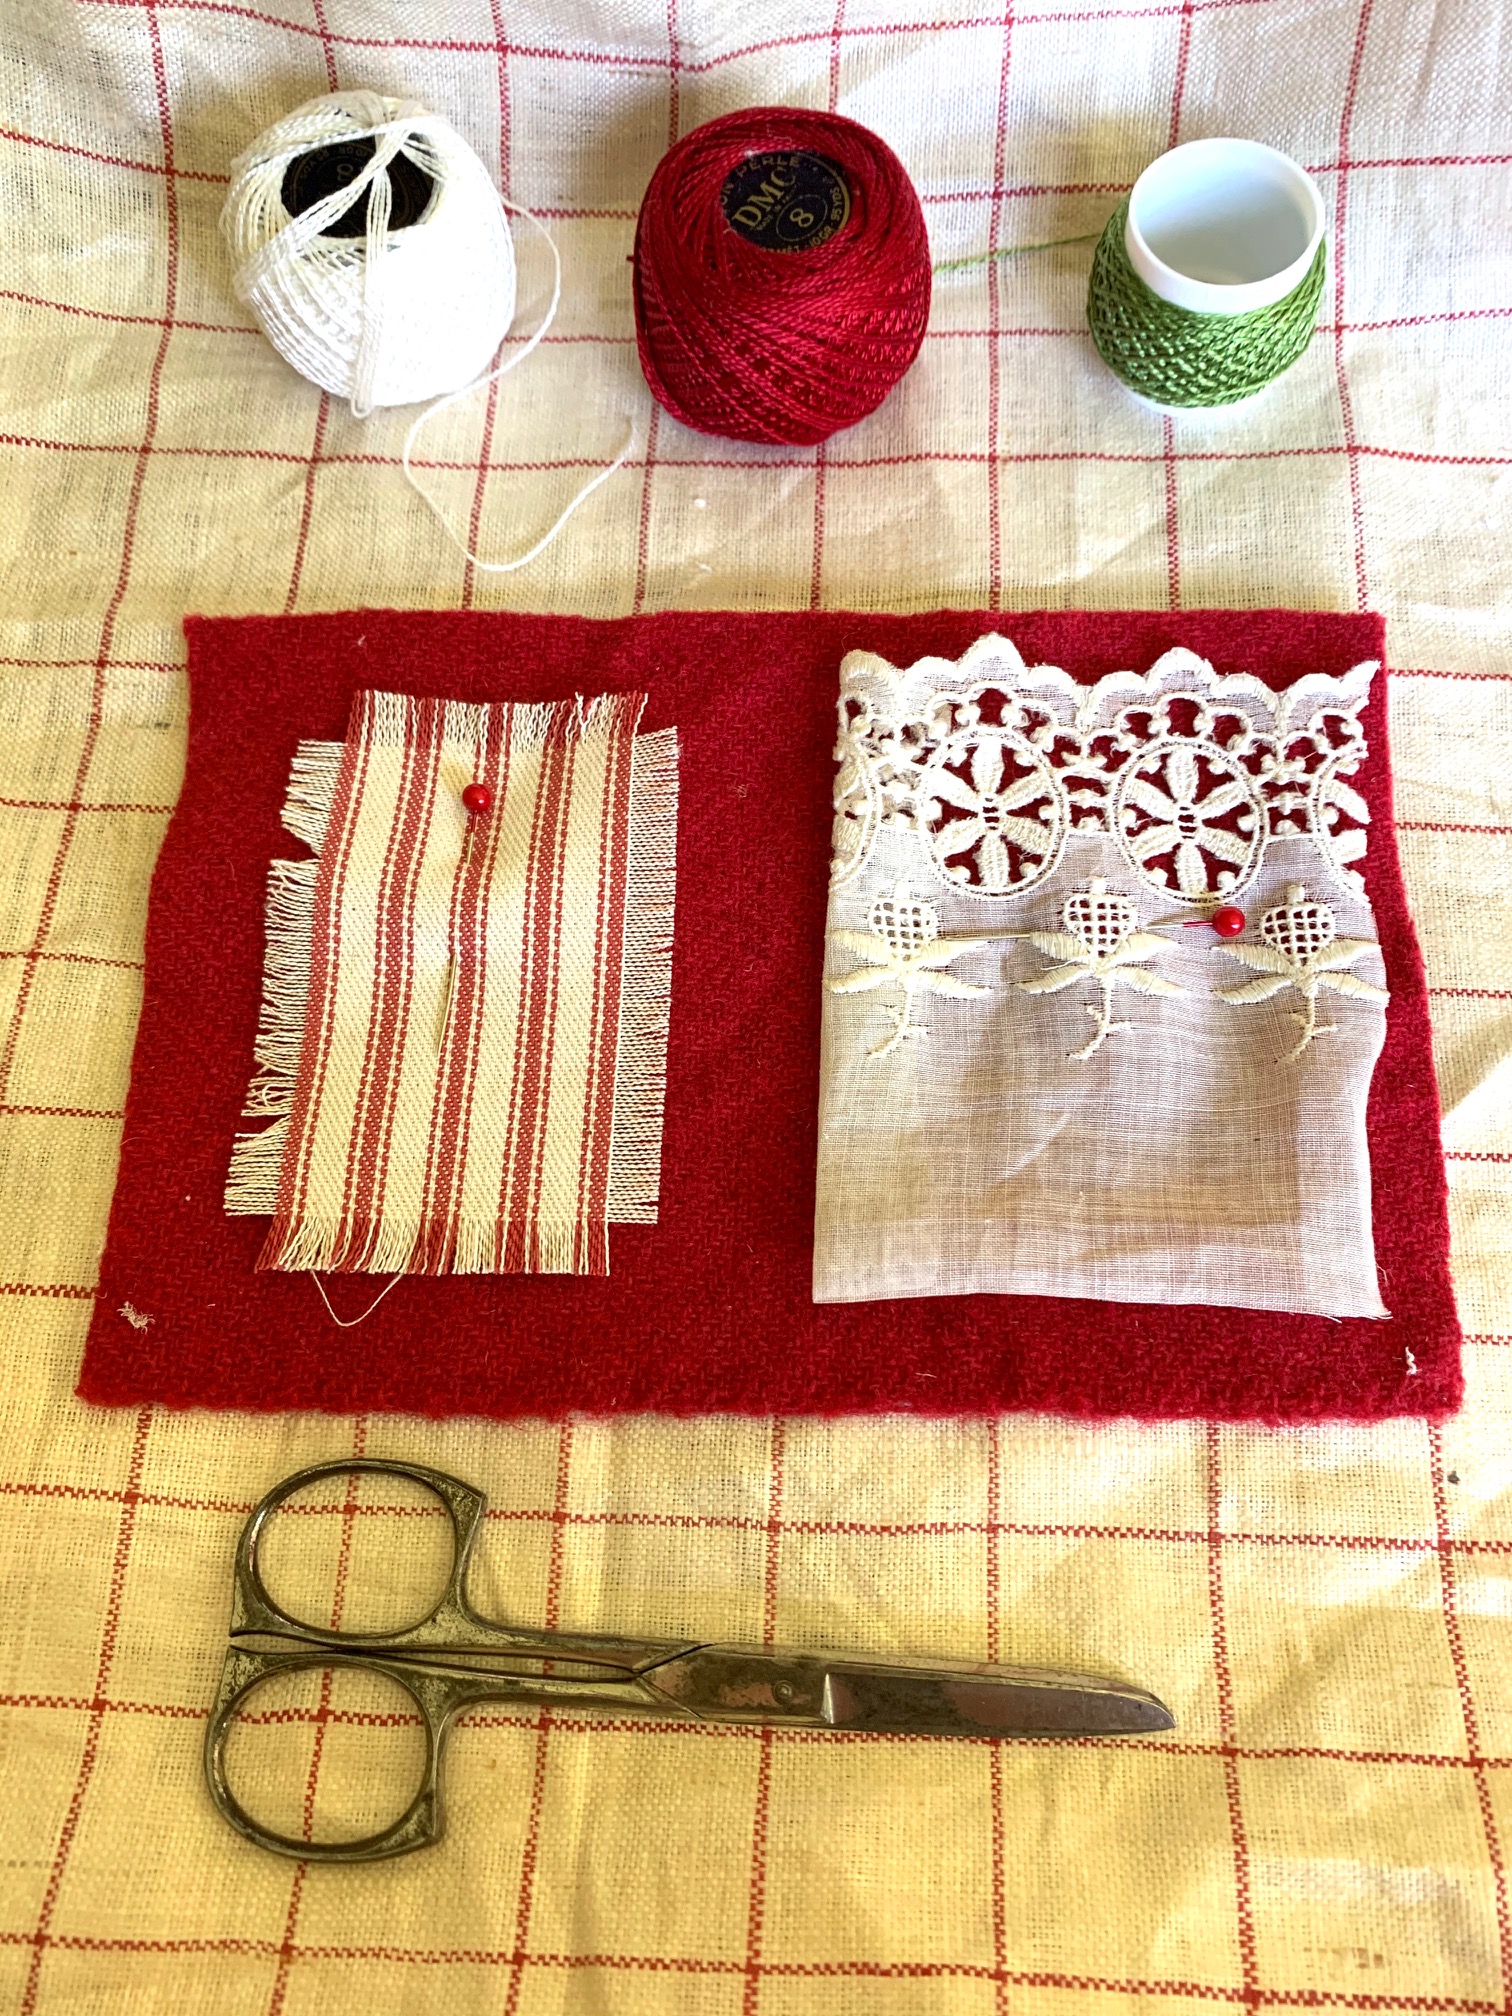
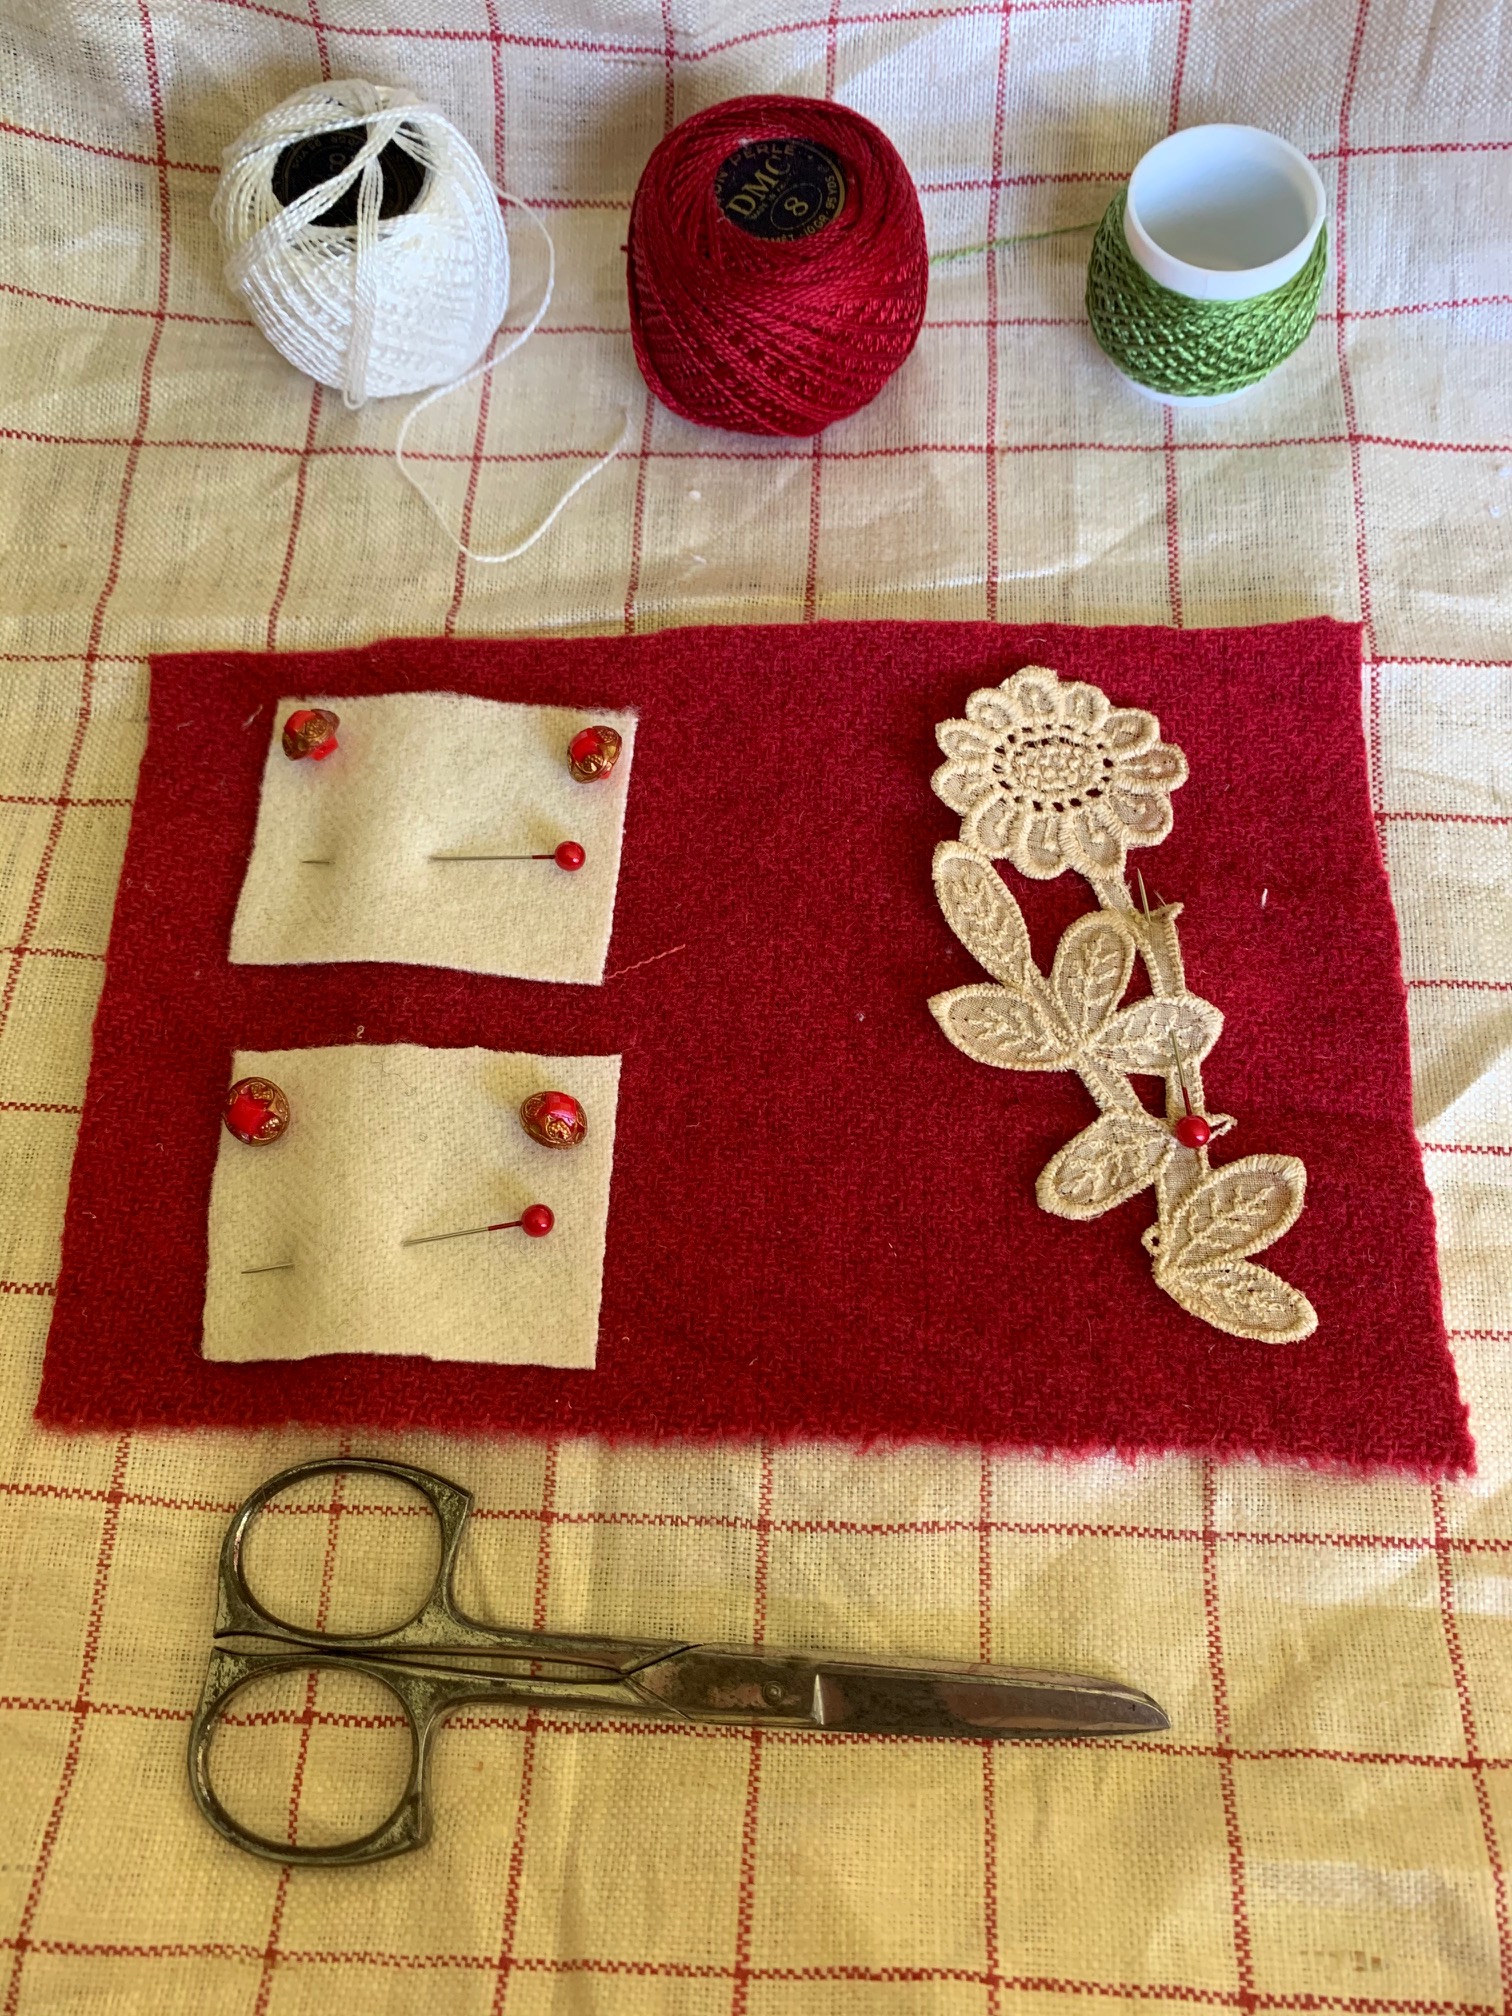
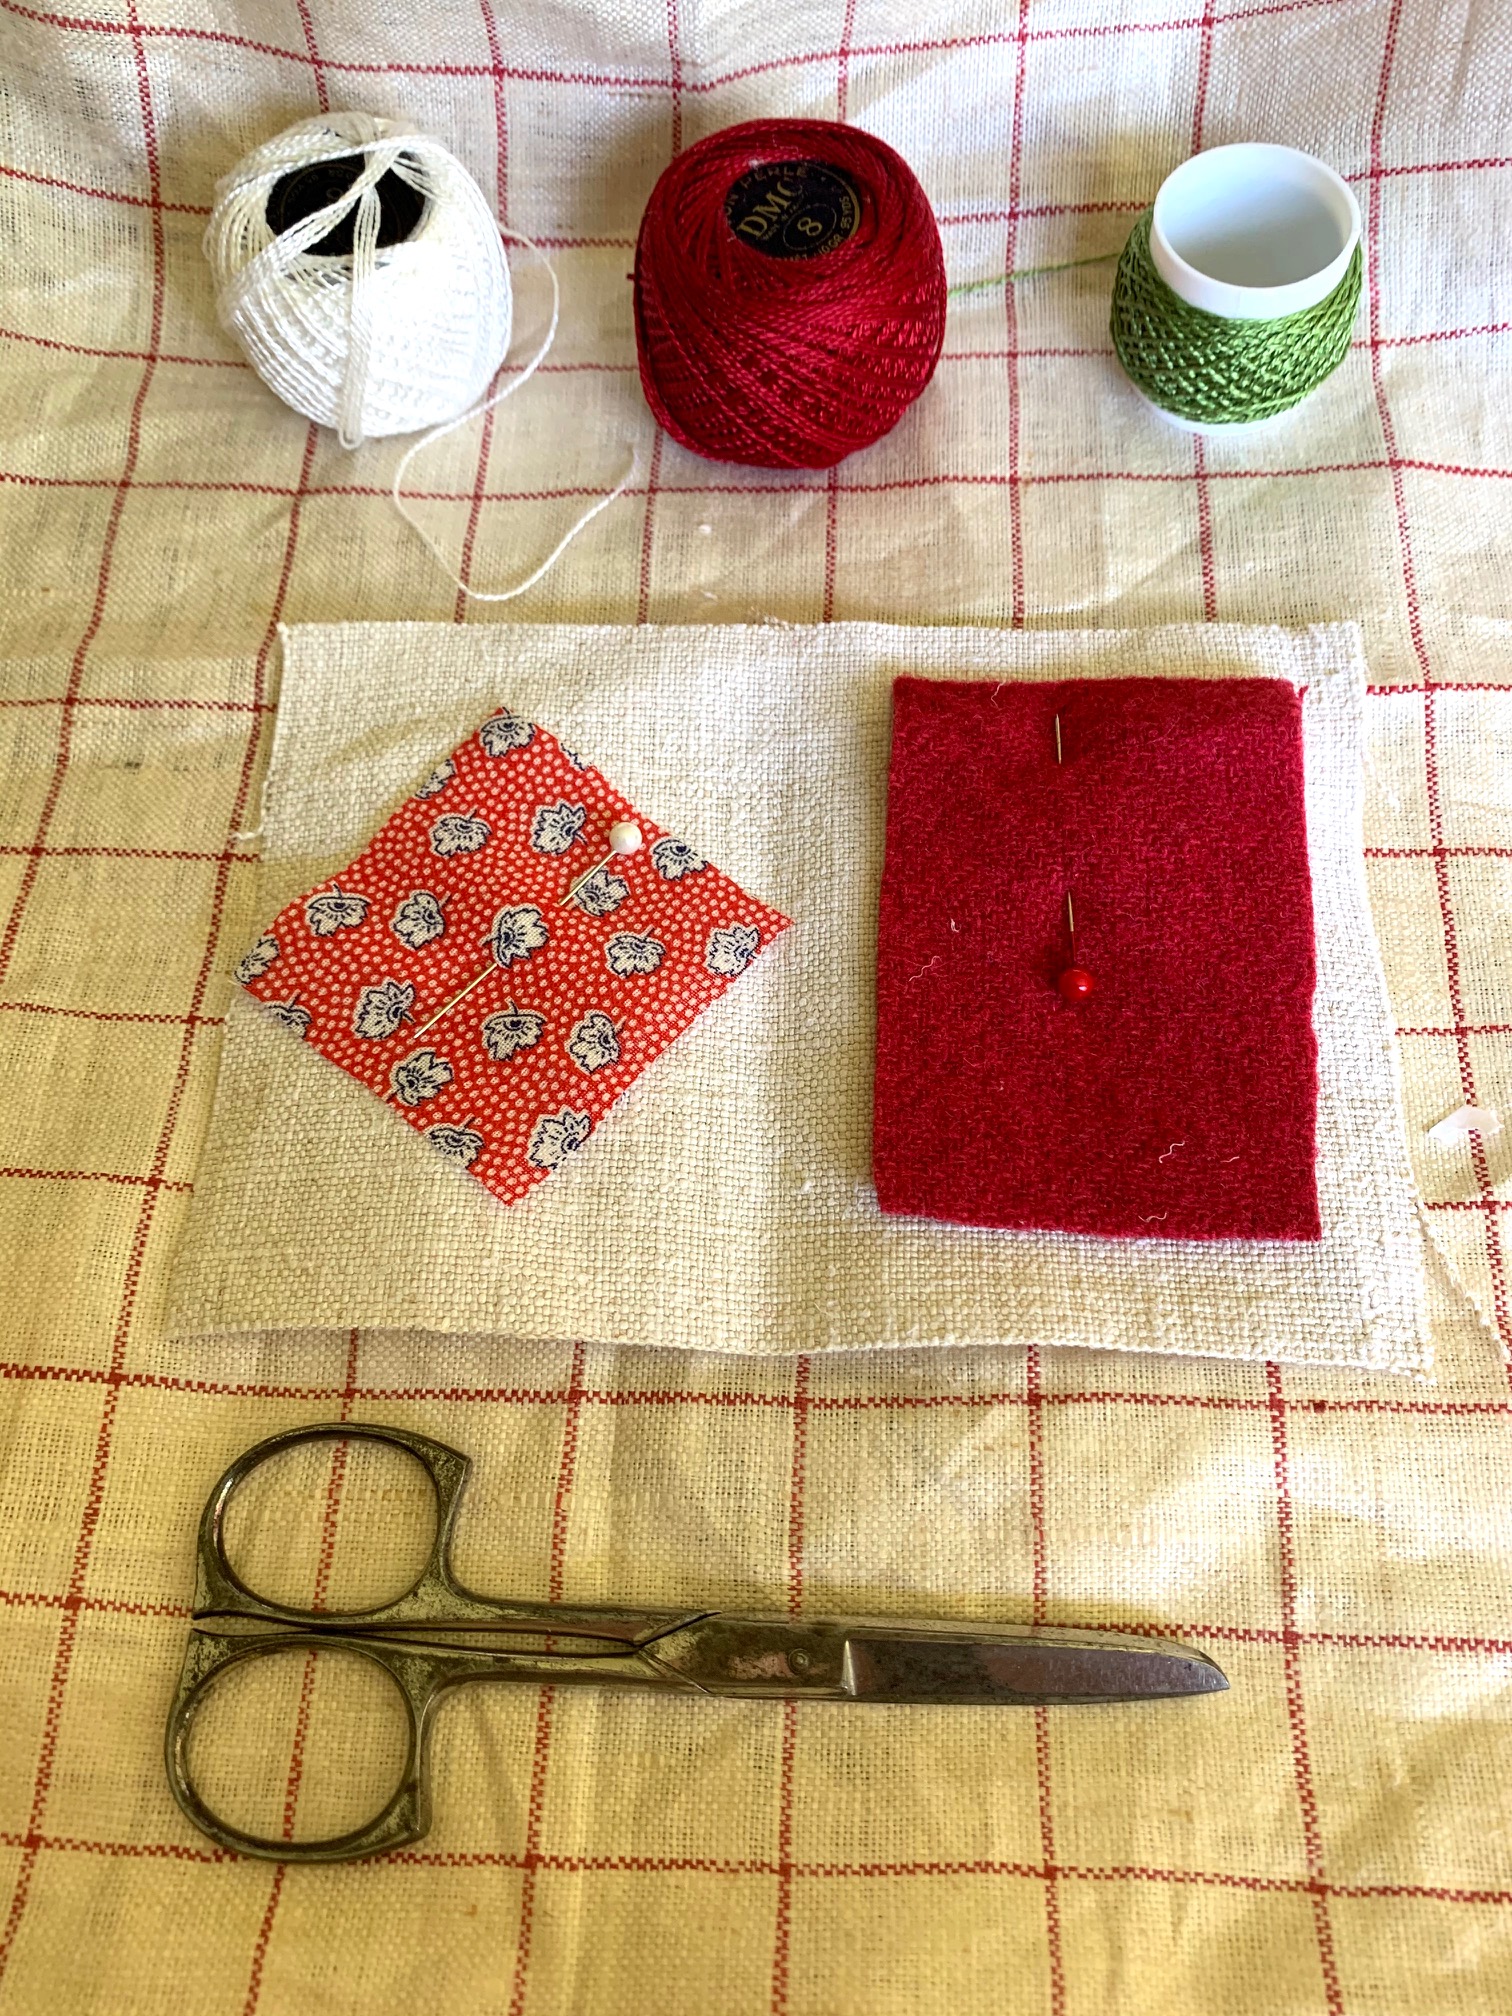
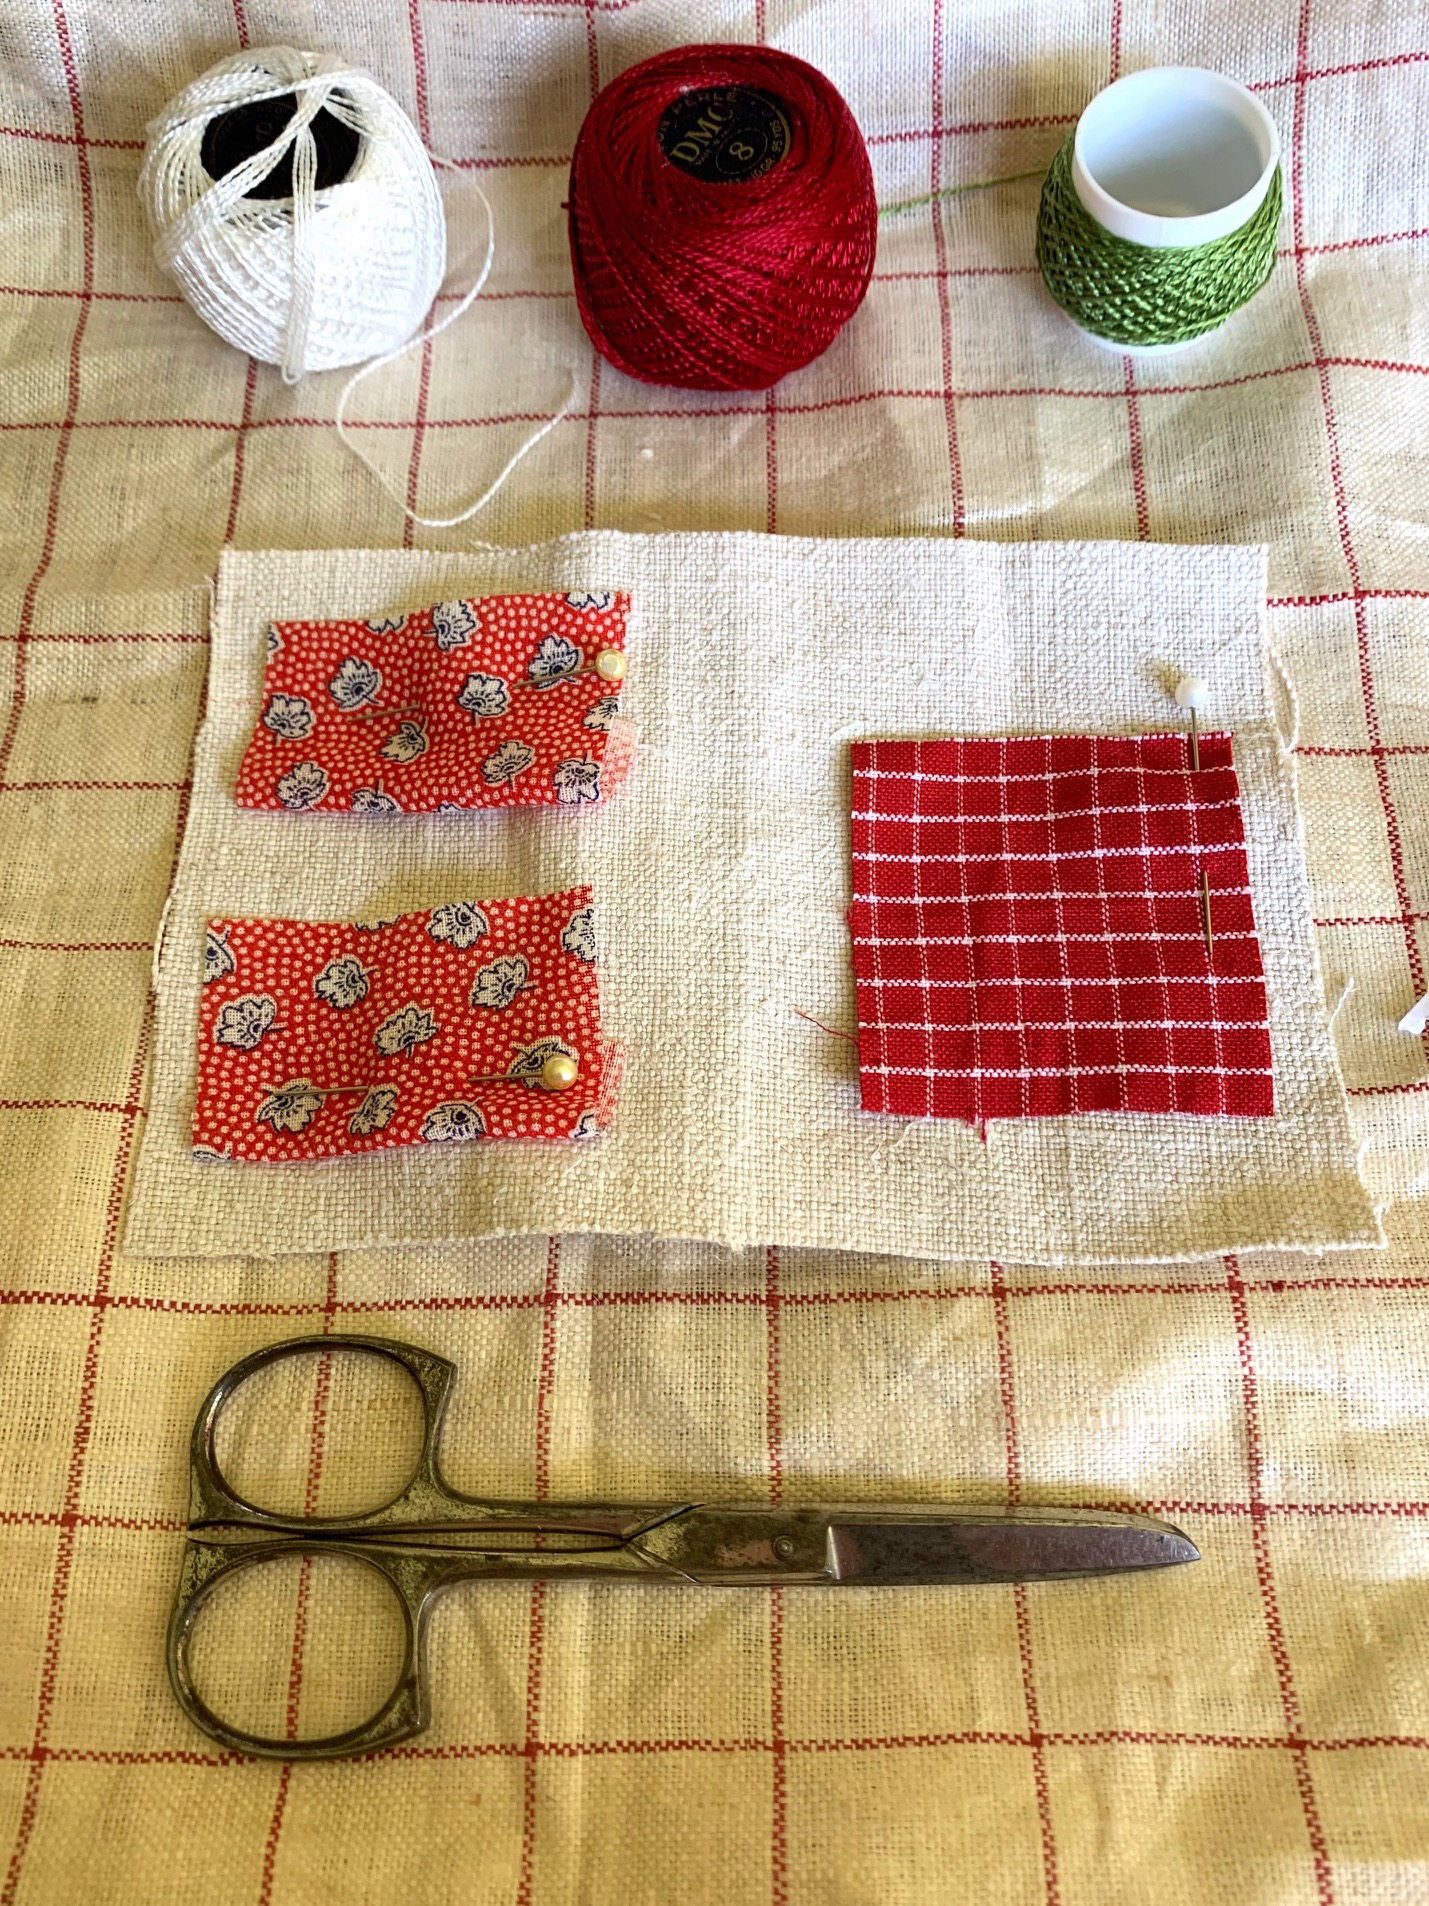
I have tried to generally describe the supplies but I have collected vintage trims, fabrics and laces for years. Whatever you select to make your needle book know that it will become your treasure and an original piece of textile art.
Supplies Needed:
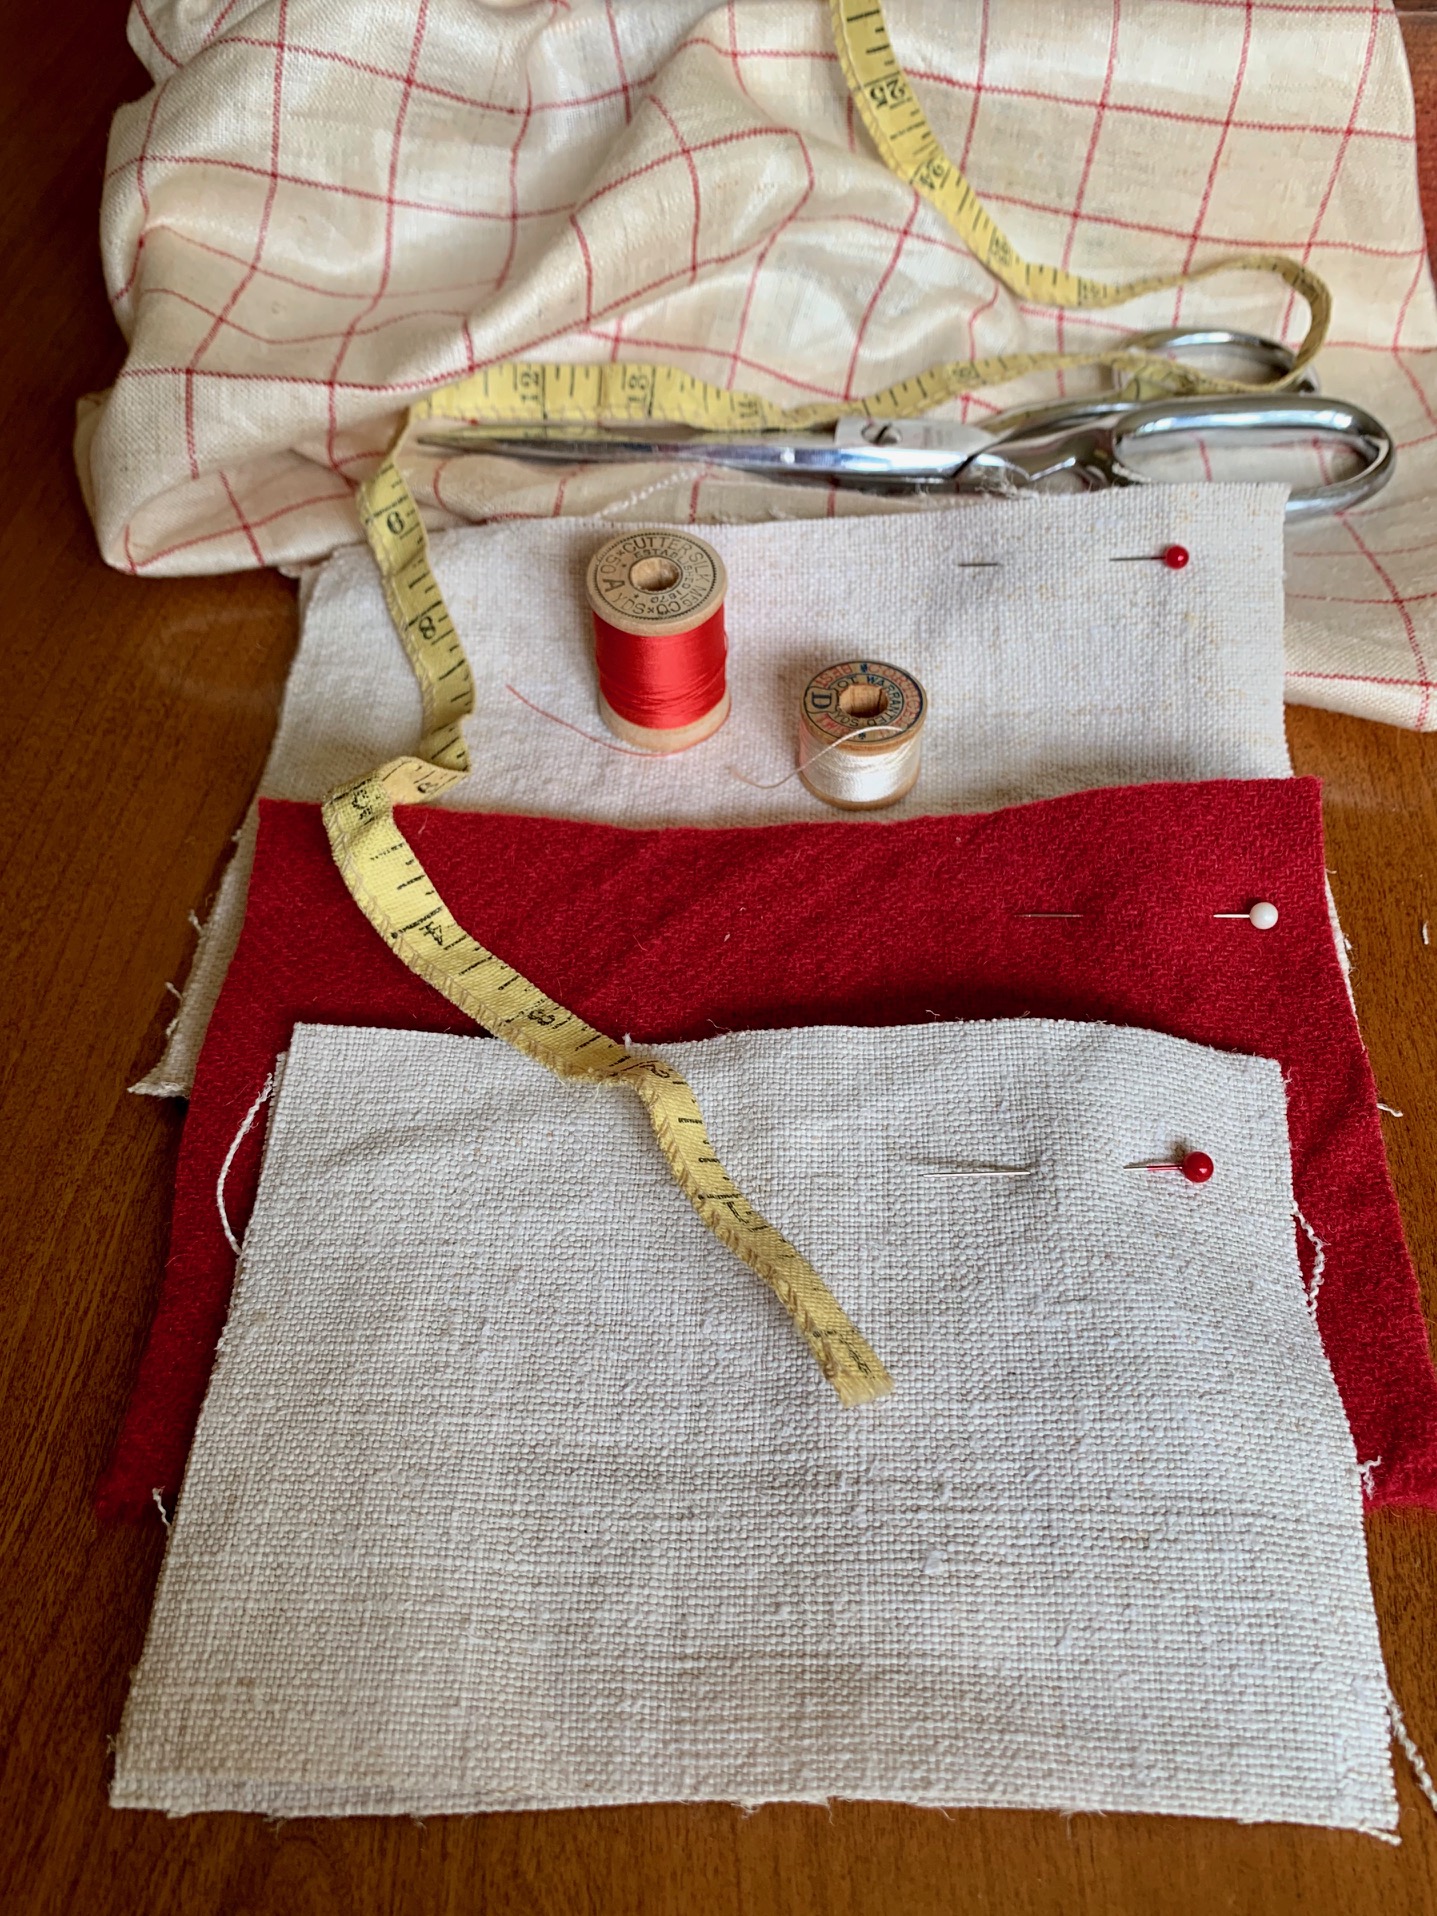
- 8” X 20” Heavy Linen, Antique Grain Sack or Heavy weight Pillow Ticking
- 9” X 12” Wool used for appliqué
- Variety of Vintage trims, lace, braids, for embellishments
- Needle Keeper Patch Pattern
- 4” squares of a variety of cotton scraps
- 20” of 1/2” – 3/4” ribbon or trim for tie closure
- Tiny Buttons
- Scraps of wool used for appliqué
- DMC Pearl Cotton 8 in colors to match fabrics used
- Sewing thread
- Pins
- Needles
Cut 2 pieces of the grain sack or heavy linen 5 1/4″ X 7 1/2″ (Cover and first and last inside pages). Cut 2 additional pieces of the grain sack or linen 4″ X 6″ (Inner pages). Cut 2 pieces of wool that has been felted 4 3/4″ X 6 3/4″ (Middle Pages). these measurements include a !/4″ seam allowance. I used a rotary cutter and cutting board to cut the pieces but they could be scissors cut as well.
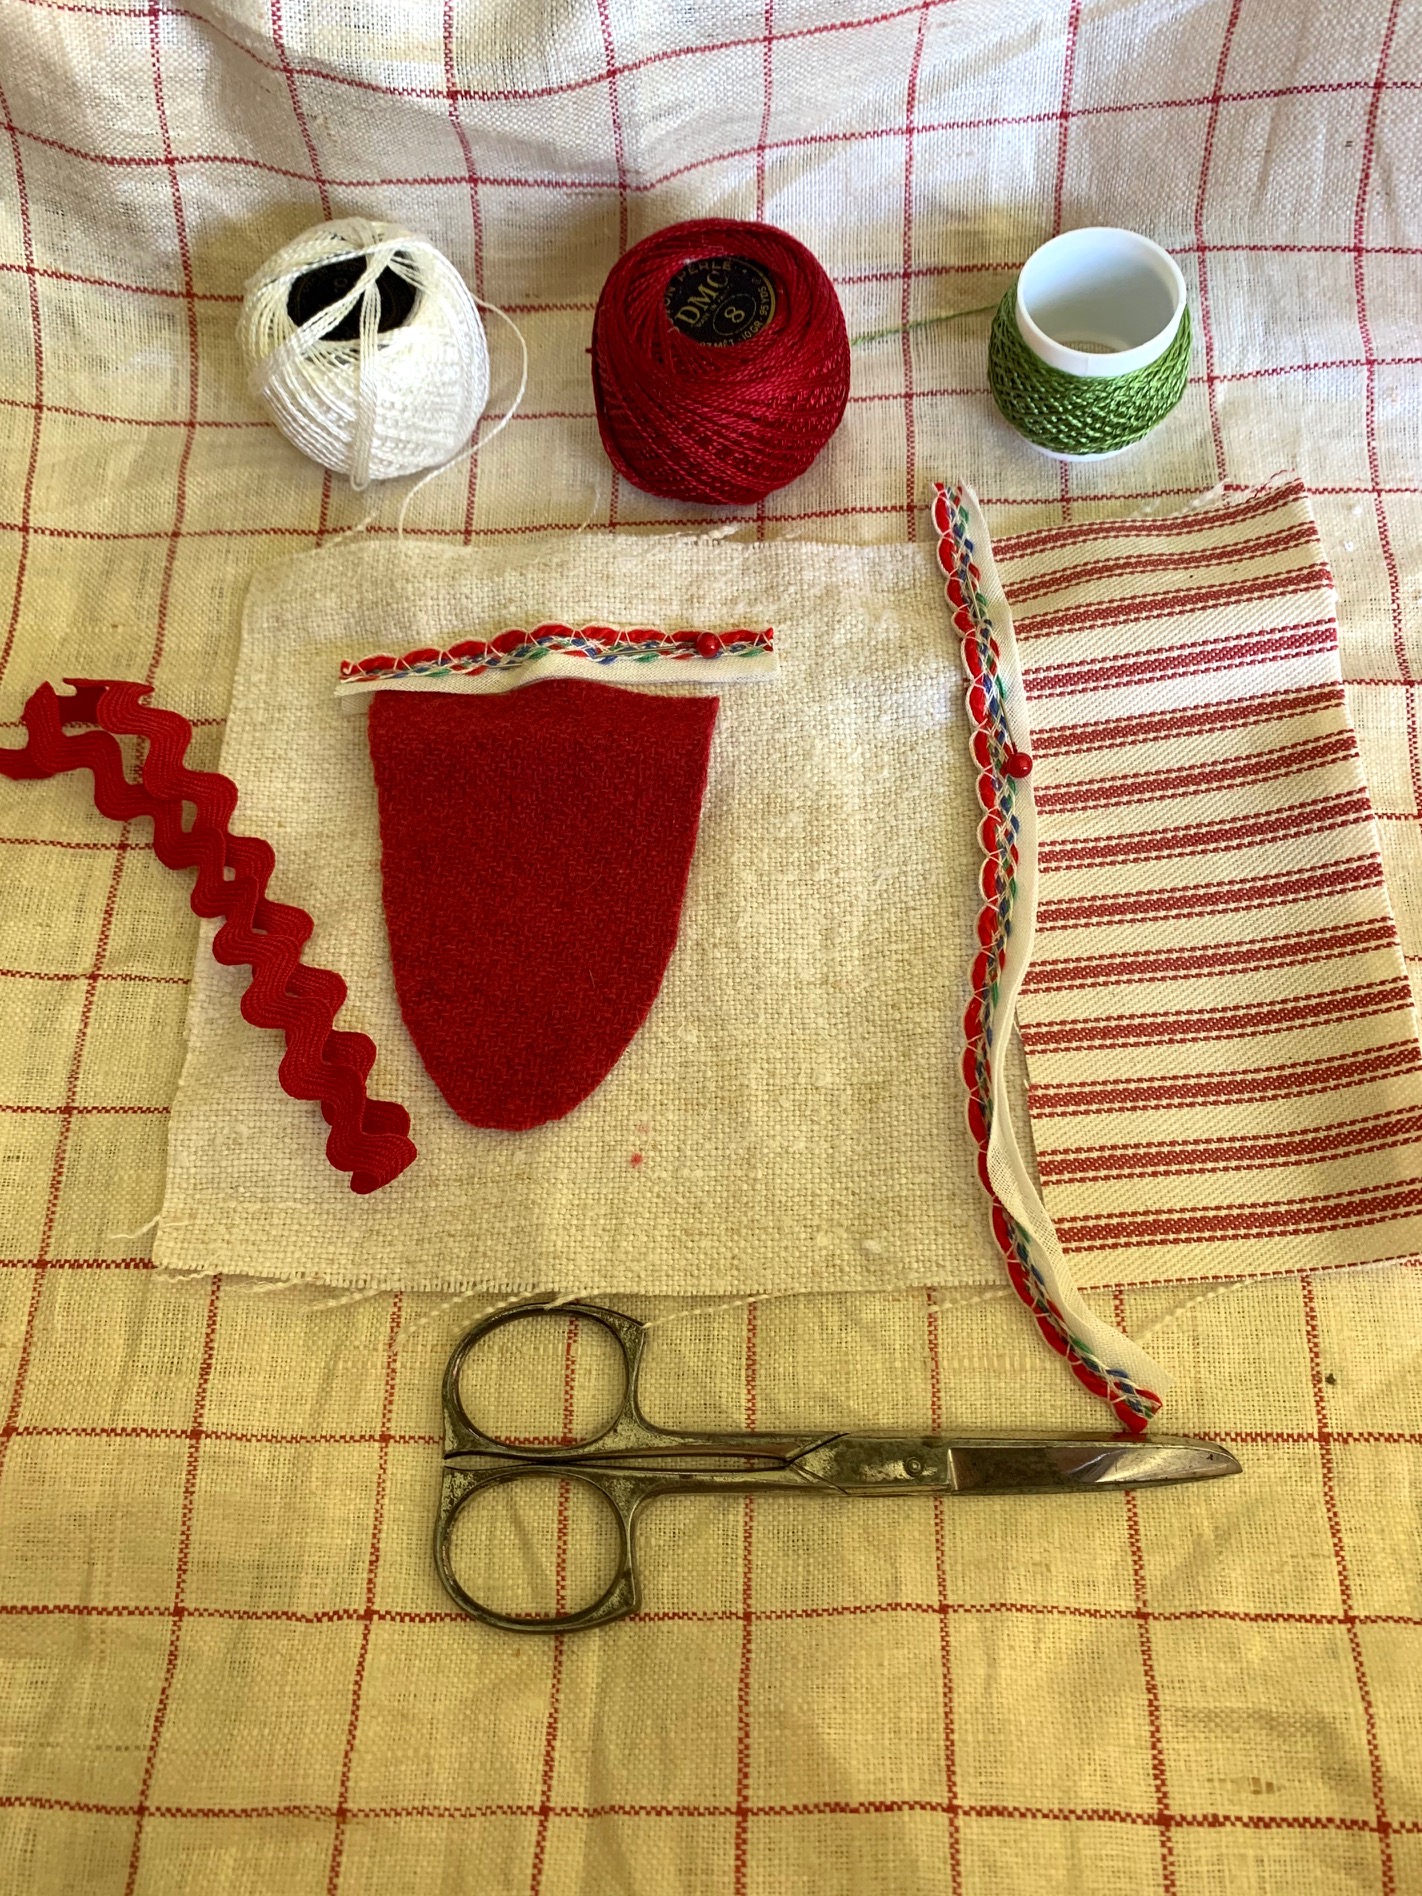
Once you have the pages cut for the needle book, the fun, artistic, and creative part begins. This is your book so you get to design the pages. Think about how you want to use your book and the embellishments you have gathered that you would like to include. Perhaps it is fabric from a baby dress, a piece of your grandmother’s crocheted trim, special buttons, ribbons from your wedding bouquet or any textiles you have collected and would like to incorporate into the design of the needle book.
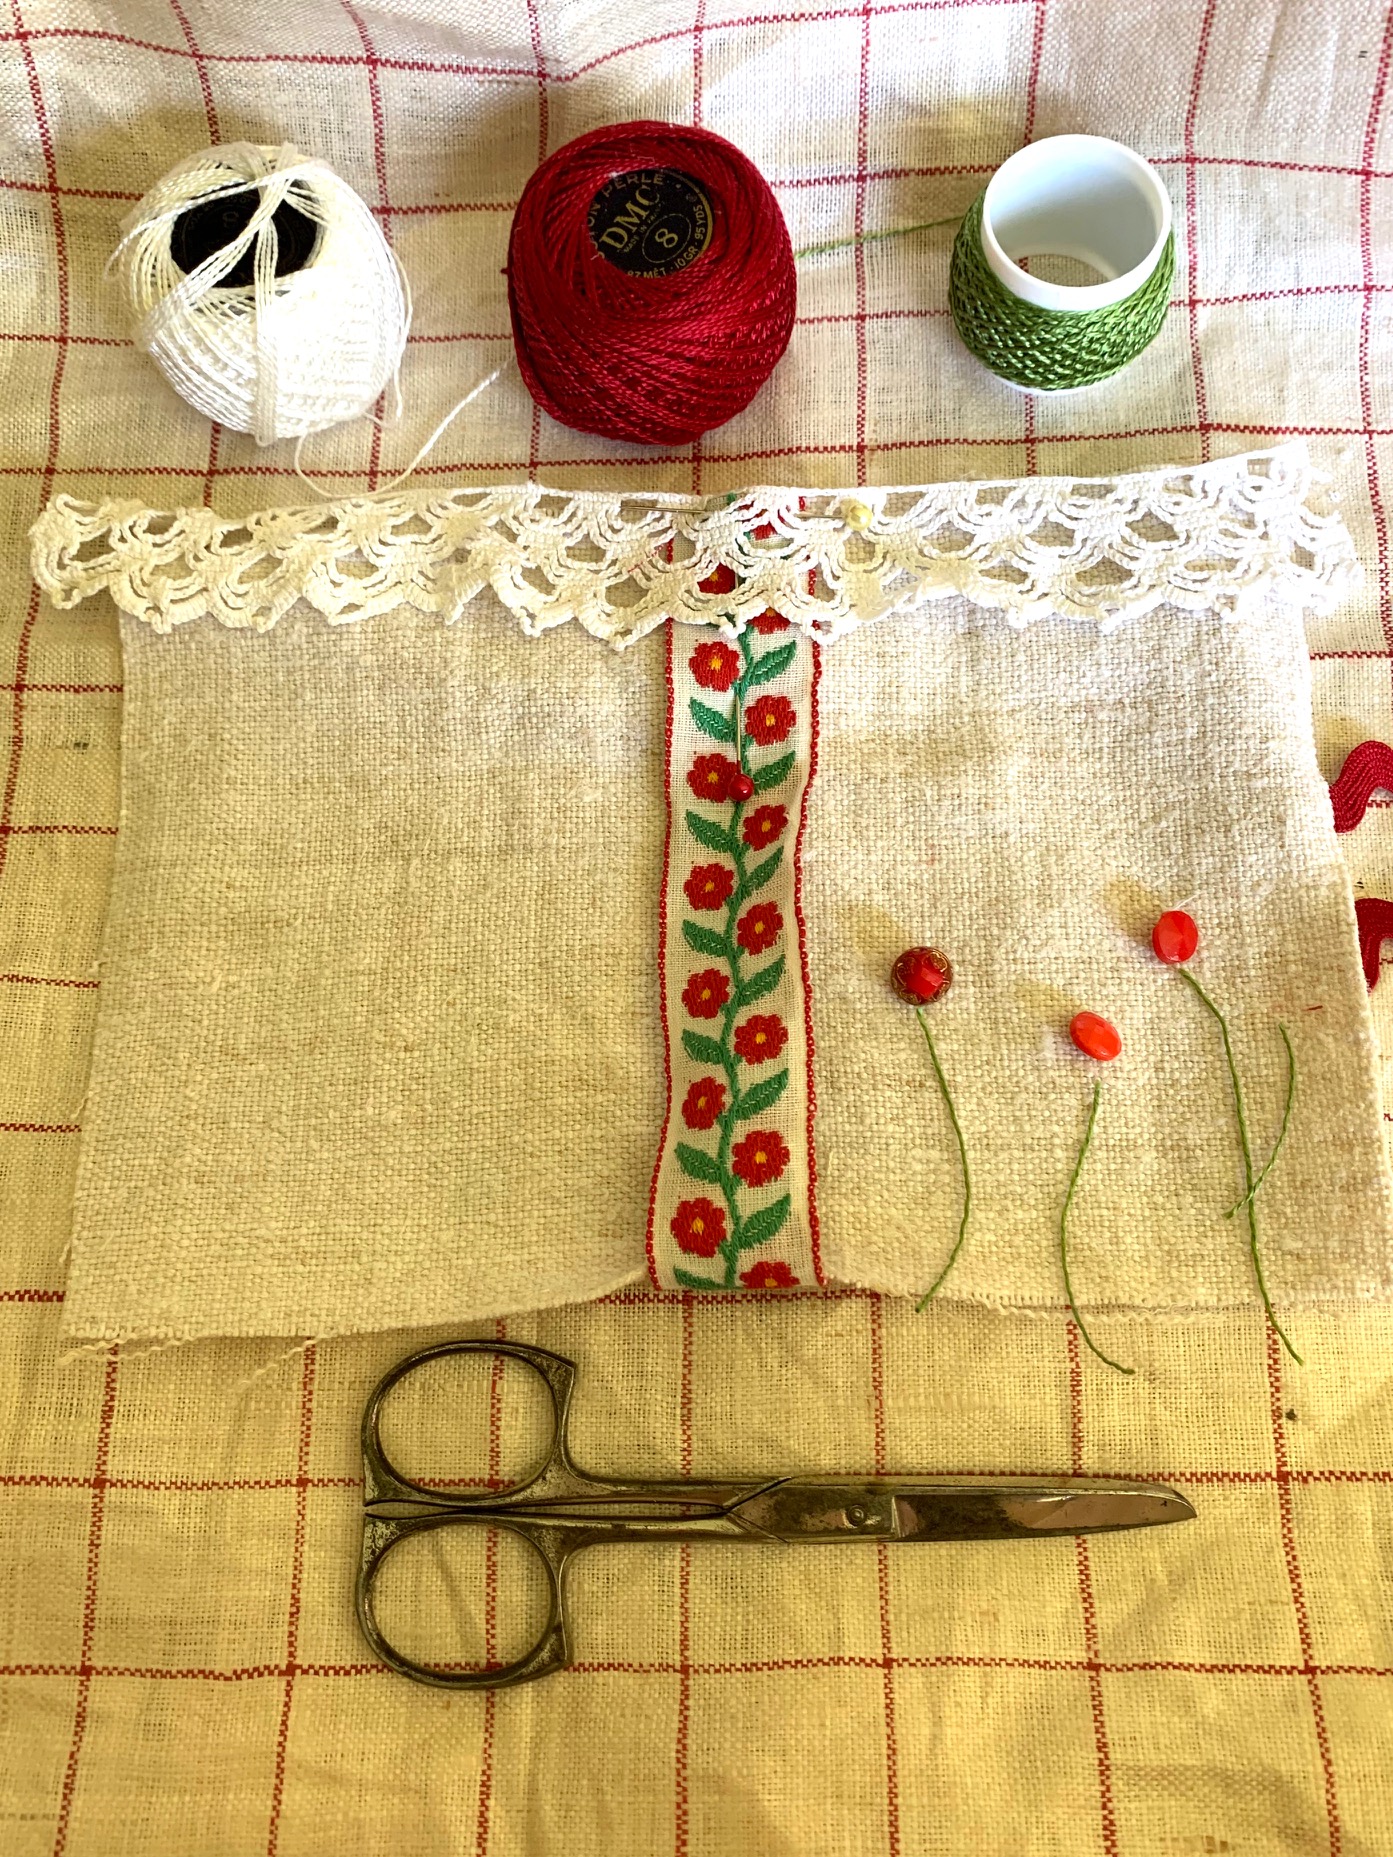
I have attached the pattern for the smaller fabric pieces needed for the needle book, pockets, flaps and scissors holder. Print the pattern and use it to cut your pieces. I trace the pattern unto freezer paper and then iron the freezer paper unto the fabric and then cut the pieces. Seam allowances are included as indicated on the pattern. The scissors holder, back pocket and flaps were cut from wool on Marian’s Needle Keeper. The squares were cut from antique flour sack material from fabric scraps from my grandmother. You could use scraps that have a meaning to you for these pieces.
Gather your laces and trims you want to include. I used French silk ribbon on Marian’s needle keeper (because she loves all things French) but old rick rack, hem tape or even ribbons from Hobby Lobby would work.
Lay out your pages. Keep in mind that each page will be sewed together using a 1/4″ seam allowance, so allow for that in your design. Any embroidery embellishments, need to be completed before the two pages are sewn together.
In my next blog post I will share how to sew the pages together, do the decorative blanket stitch and assemble the individual pages into the book.
For those of you wanting to purchase an original needle book, I am working on the order form so that you as a customer have some input into color and materials. I have also decided to offer a supply packages, complete with vintage fabric pieces, trims and embellishments.
Gather your supplies and start planning your individual needle book. The history of the needle keeper and my design process can be found here.

This will be a fascinating piece of creativity that I look forward to making with your help!
Brenda if you have any questions, please contact me. I want to see photos of your finished project!
Thanks so much for sharing your pattern. I love your little books and I’m planning to make a couple for Christmas gifts so this is very helpful. Miss MS’s books is beautiful and it brought me to your site. Love your little red one, too.
They make wonderful gifts. don’t forget to send me photos.
I want one of your`s and to make one. Hurry, hurry! I am so excited. I will be 85 in Sept. ( good reason to hurry) I am working on a Christmas card basket right now. Love Christmas and it is family tradition that everyone come to my home on Christmas eve. So much fun. It is normal for me to decorate every room, the yard and 2 porches. I start the day after Thanksgiving. I notice I am a little slower every year getting it all done. What matters is that I get it done, otherwise anything less and they will all think I am getting old.
I am waiting, patiently. So happy I got to know you. Thanks to MMS
I have loved the hussif you made for Marian since the day I saw it… I am finally going to make one. I have so many bits and pieces from ancestors it will be fun to see what it looks like. I love yours especially the blue one. I just read your blog so interesting!